Create Pro-looking Videos with iMovie
Wondering how to edit on iMovie like a Pro? Yes, it is possible to create “pro looking” YouTube videos with iMovie (you don't NEED Final Cut Pro or Premiere Pro for video editing) but to be honest, it's more about some editing details that you can implement no matter what video editing software you're using.
Click here to subscribe to Meredith Marsh on YouTube.
Some product links in this post are affiliate links, and I will be compensated when you purchase by clicking our links. Read my disclosure policy here.
How to Edit on iMovie Like a Pro
Tips for Pro-Looking iMovie Edits
Are you ready to take your iMovie videos to the next level? In this blog, I'm going to show you how to look like a pro with your iMovie videos so that people will take you seriously online. Also, you can look professional and polished in your videos without having to spend hours at the computer.
Naturally, nobody wants to come off as hokey or amateurish in your videos, but also who has time to become an iMovie expert? When you put your time and energy into a video, of course you want people to enjoy it. Maybe even hit that “like” button, subscribe to your channel, leave a comment, or share it on social media.
But if your video is hard to watch because it's distracting, then you're probably not going to get the desired outcome you're going for. Now, you might think that in order to create those pro-looking edits, you're going to have to use pro-level software like Final Cut Pro or Premiere Pro. But the truth is you can achieve polished, professional-looking videos with iMovie.
Related: How to Export in iMovie
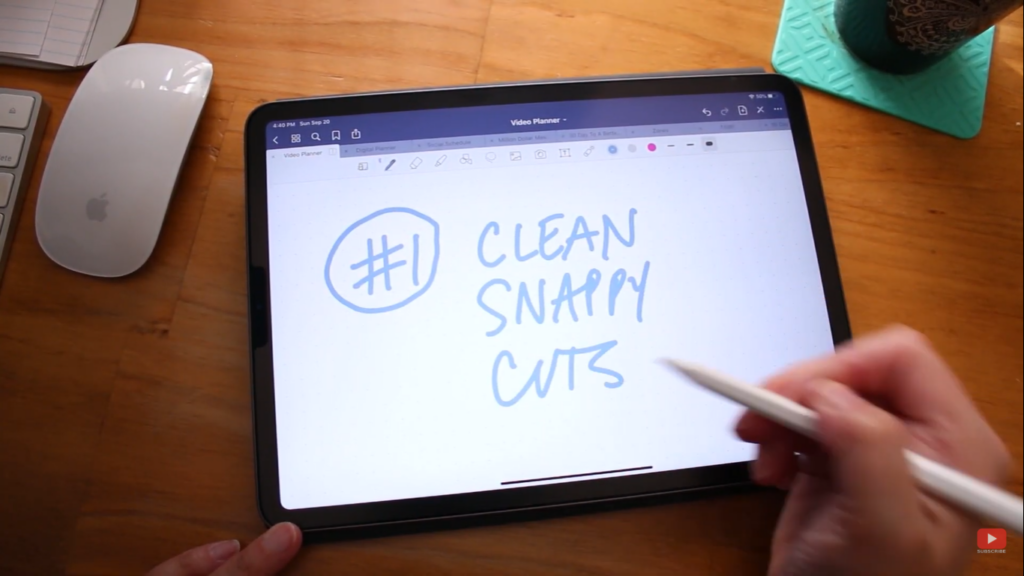
iMovie Pro Tip 1: Clean Snappy Cuts
First of all, you don't actually have to cut out every single little “um” or pause in your sentences. But if you do, you want to make sure that those cuts are super smooth. So for example, you have a clip and you need to cut a certain section of it. After you cut it, make sure that the transitions/cuts in that clip are smooth and have no awkward cuts.
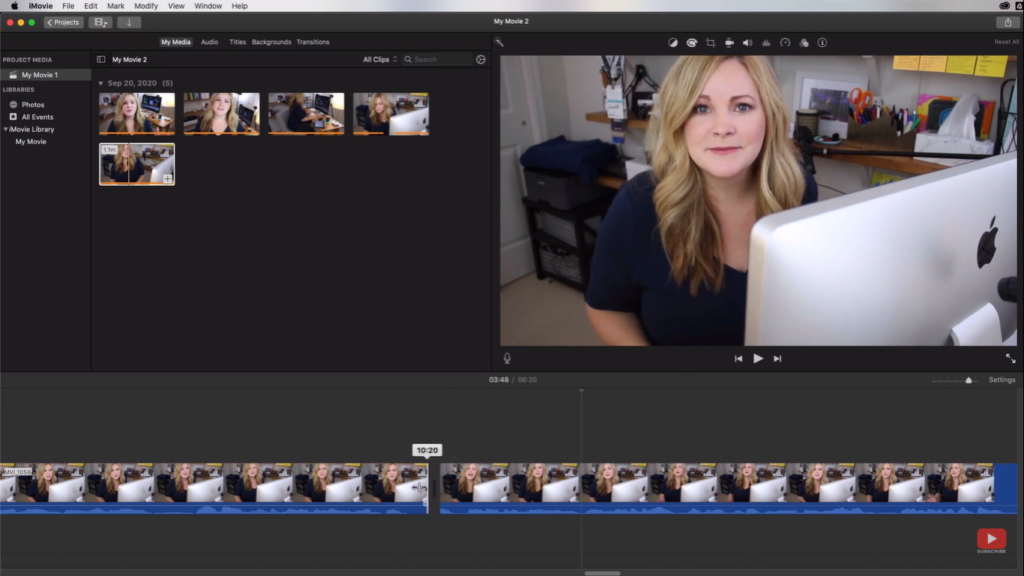
So here's a tip if you want to cut a part of your clip like a dead air or a blooper. I'm going to zoom way in the timeline as far as I can, I have the waveforms down at the bottom, and I just want to make sure that I'll cut out the part of my video based on the sound waveform. It's really not fancy at all. I'm just cleaning it up.
Now that I got rid of that weird dead space and also got rid of the spot where I restarted my words, we can make this a little bit more snappy. Where the video moves a little bit quicker and we're getting rid of as many empty frames as possible.
J-Cut and L-Cut
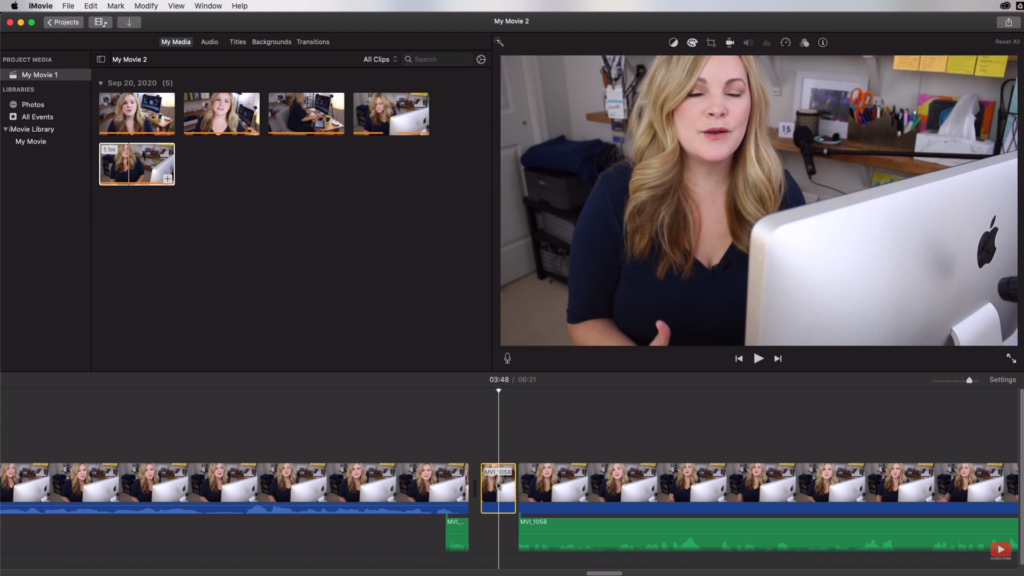
So what I would do is select the second clip, and then we're going to detach the audio. So now you have the video part and the audio part down there separated. Now, I like to go just a few frames into where I start talking, then I'm going to split the clip, command+B on the keyboard. I'm going to then take just the audio. I'm going to move it at the very end of the previous clip.
Then, I'm going to remove that part by hitting delete. So what I did was I just removed some of the frames of the visual part, but I'm still keeping the audio part and it overlaps a little bit, just enough so that there is no dead space. It feels a little bit more continuous. So that is actually called a J-cut because it's kind of shaped like a “J”. If you went the other way and you overlapped going the other direction, it would be called an L-cut.
Block Scripting Process
Now, if you're anything like me, it's pretty much impossible to talk to the camera and remember all of your words and not mess any of them up. And so inevitably you're going to have to make cuts, get rid of stuff that made no sense or was just bad, and then smooth things out with those cuts. Ideally, you want the viewer to not really notice them as much. So, you don't need to do any cross-fades or weird distracting transitions or anything like that. Just let it go on to the very next clip. Just make sure you remove the weird frames in between that dead space. Otherwise, the viewers would easily notice the cuts and that's not what you want to achieve.
If editing your videos does take a long time because you have so many takes and retakes, as I do, you might want to consider upping your game when it comes to shooting your videos by having an outline or what I like to call a “block scripting process” so that you know exactly the words that you need to get out there, and you're not re-riffing as much, which takes more time when you are editing.
iMovie Pro Tip 2: B-Roll Tease
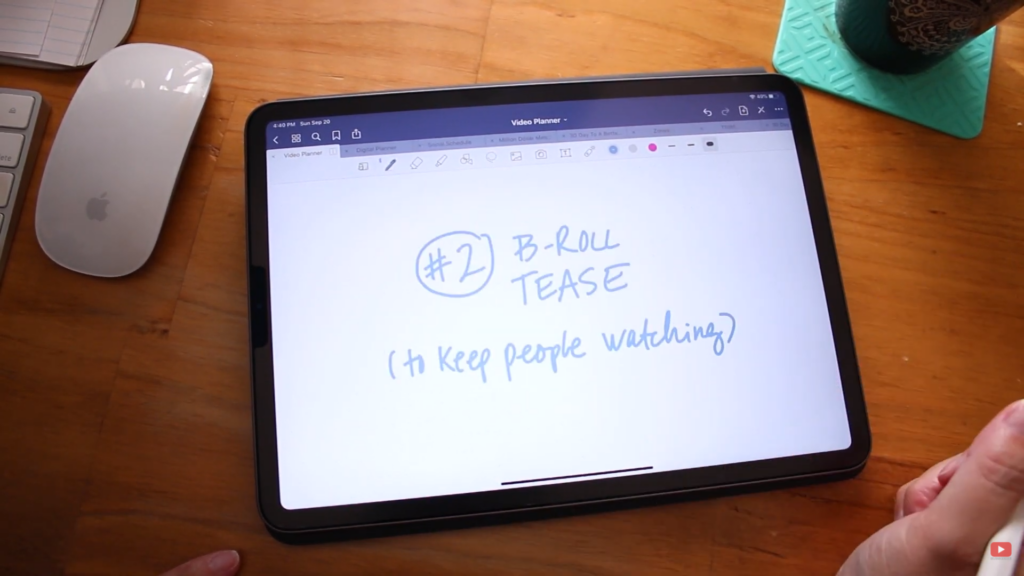
The second thing you can do to edit your video like a pro with iMovie is to tease what's coming up in your video. So we've already talked about keeping your clips tight, now we want to entice the viewer to actually keep watching. One of the easiest ways to do that is at the very beginning of your video. Just introduce a little teaser of what's coming up in the rest of the video. That way, your viewer knows that if they stick around, you're actually going to start getting to the point and actually get into the content of the video.
Adding Screen Record Tease
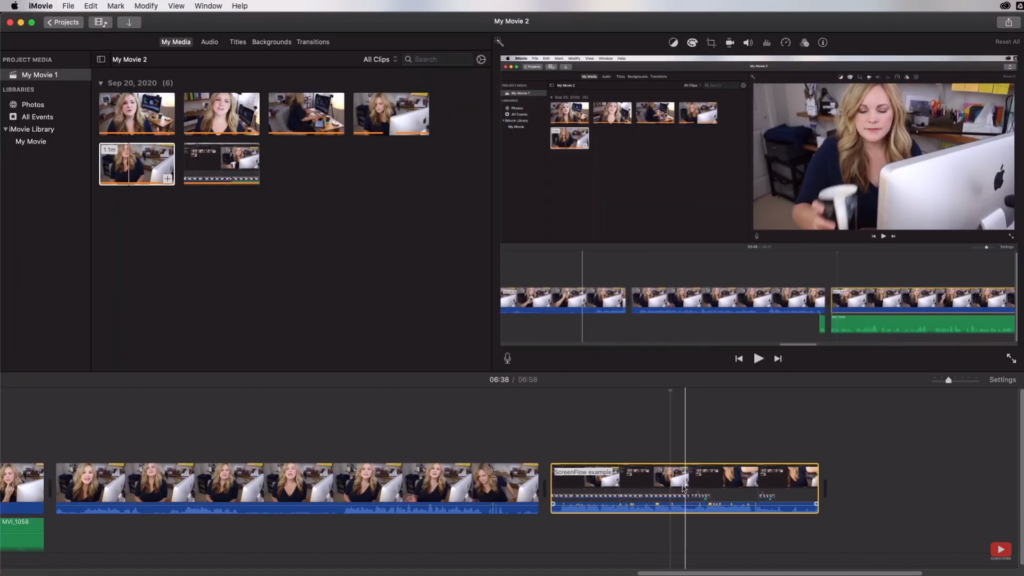
An example of this is similar to what I usually do, especially if I have a screencast tutorial. You probably noticed that I always do that to most of my YouTube videos, which is to just take a little bit of the screencast section. It doesn't have to be big. It doesn't have to be long, but we're just going to take a little bit there.
You're just going to grab a little part. Then, at the very beginning of the video where you have the intro, you're just going to pull a part of your tutorial and place it there. So as you're introducing the topic of your video, the viewers are seeing an iMovie tutorial just a little bit.
There's nothing profound happening in that little piece of B-roll, but it's just enough to tease them and make them think, “Oh yes. If I keep watching, she is actually going to open up iMovie and show me something.” If you have audio in that particular clip, you are going to want to completely mute it, bringing the volume all the way down.
Using Clip Trimmer

Let me show you a little trick when adding some teasers. If you come down up to “window” and then down to “show clip tremor”, you're going to see the whole clip. Then, you're going to see which part of that clip you actually have selected currently. If there's another part of that clip that you would rather show, you're just going to slide it over so it shows a more relevant and interesting teaser.
If there's something funny or even an interesting blooper or something that's going to happen later on in the video, you could give a little bit of a tease right up-front. In that way, the viewer is interested in keeping watching your video. Of course, in order to do that, you're going to have to edit your entire video first to figure out what you even have to throw into your intro.
iMovie Pro Tip 3: Simplicity is the Key
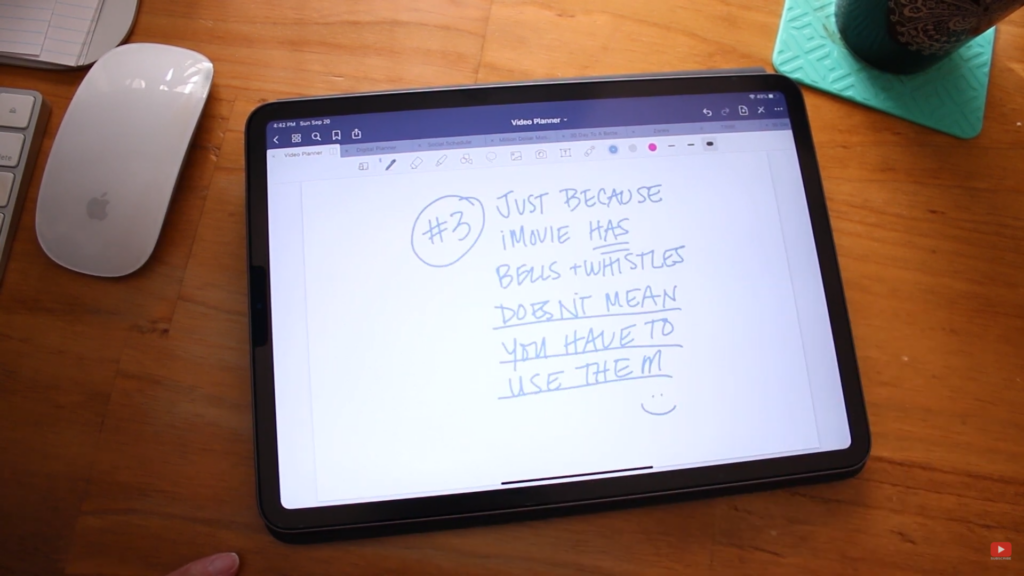
Now, just because iMovie has a bunch of bells and whistles doesn't mean you actually have to use them. In fact, the more minimal and clean you keep your titles, your transitions, and any effects that you decide to use, the more pro it's really going to look. Less is more when it comes to video editing, but you may want to add your name or your website, your logo, or something as a lower third, or you may want to create a title screen. That's totally fine. You can actually do that with iMovie using their very simple and basic, but easy to use titles.
More Video Editing Tips
If you're not familiar with how I do my editing workflow, I actually have a YouTube video that talks about it. That's a tutorial about how I go through my workflow for my videos because I do a rough cut. Then, I go back in and do a fine-tune instead of starting at the beginning and going through everything all at once, because that would take days.
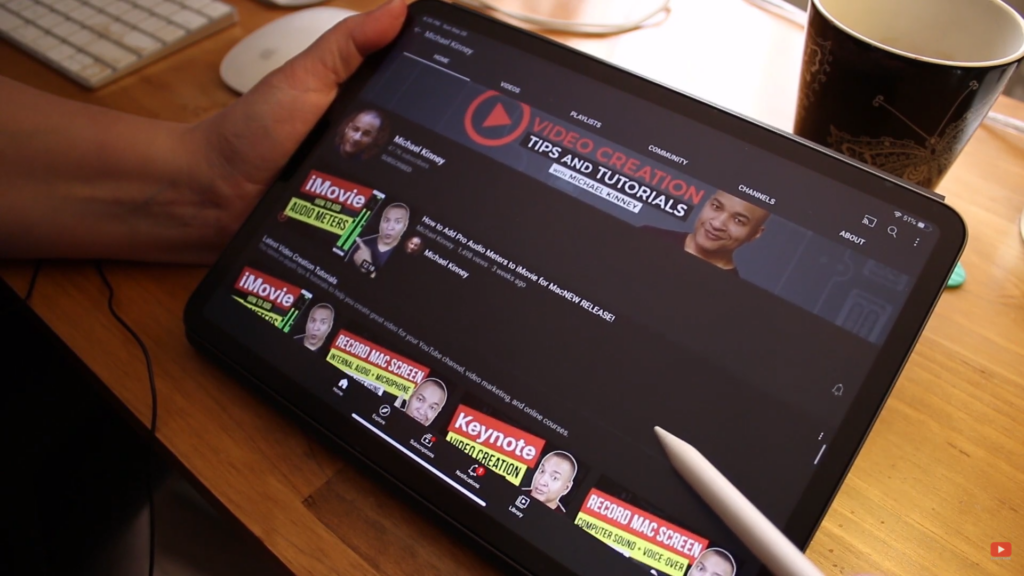
Now, I also want to mention my friend, Mike. He has a channel where he goes way in-depth on editing with iMovie at a really pro-level, using tools that I don't even know how to use in iMovie. Check out his channel here.
Another fantastic way to edit on iMovie like a pro is to add custom overlays that you create and then add to iMovie. I've queued up my very next tutorial for you on exactly how to create those and how to bring them into your project. So you can use them on future videos. For more tips and tricks for using iMovie to create your YouTube videos, make sure to also subscribe and keep up-to-date with my YouTube channel here.
Can you do professional video editing with iMovie?
Typically, iMovie isn’t the first choice among video industry professionals. But to be honest, if you’re just getting started learning video editing, iMovie is a perfect place to start. There are a lot of features in iMovie that are available with more professional video editing platforms, but without the expense. Plus, there are tons of video editing tutorials on YouTube for learning iMovie!
Related: Video Editing for Beginners
Be sure to subscribe to the VidProMom YouTube Channel so you don't miss fresh new videos from Meredith! Click here to subscribe now.