Learn Video Editing In 1 Hour
Don’t think you have the time to learn video editing? Well here’s a secret: you don’t have to be good at video editing in order to look legit on video and grow your audience on YouTube… but if not knowing how to edit videos for YouTube quickly is what’s holding you back from creating and editing videos, we need to get you started!
Some product links in this post are affiliate links, and I will be compensated when you purchase by clicking our links. Read my disclosure policy here.
Learn Video Editing In an Hour
In this blog, I will show you how to teach yourself to edit videos in 1 hour- INCLUDING the time that it takes to watch THIS video. Yep, I said it! It’s time to develop your slow editing to lighten speed editing.
What Editing Software Should I Use?
Now editing videos for YouTube is something I love to teach on my YouTube channel, blog, and in my paid programs like Social Video Pro. However, I often come up against this roadblock from clients, customers, random people who message me on various platforms…
“Meredith, I’m not using the same software you’re using. Do I need Final Cut Pro? Do I Need Premiere Pro?”
The answer is no, you don’t. Use whatever you got and follow the steps in this blog or my YouTube video to teach yourself using the software you have available, whether it’s Final Cut, Premiere, Premiere Rush, Filmora, Camtasia, ScreenFlow, LumaFusion, iMove, or Davinci Resolve.
Let’s get started on the video editing process.
The 1 Hour Video Editing Process
To learn video editing, you are obviously going to need to create a video. You are going to record 2 clips on your phone or camera, whatever you have on you.
I know you might have some footage you already recorded that you need to edit, and that’s ok, you’ll get to those. For now, stick with this project I’m walking you through.
So you’re going to keep the camera rolling throughout this clip. Make sure you are looking at the lens, not at the camera’s screen. I know it is hard, but it takes practice. The first thing you are going to say is “My name is ____________ ” then snap your finger three times. The second thing you are going to say is “On this channel, I talk about ___________” then snap your fingers three times. The third thing you are going to say is “The quick brown fox jumps over the lazy dog” then snap your fingers three times. After that, you stop recording.
I know it may seem a bit weird, but trust me on this. If you stumble over your words or make any mistake, it’s okay. Just stop and start again, but don’t stop recording. When you have a good take or one you’re happy with, snap 3 times right into your mic.
If it takes you 17 mess-ups before the words come out correctly, that’s ok. In fact the worse you do at recording right now, the better you’ll understand video editing and the faster you’ll become at creating videos from start to finish.
Recording Your B-Roll
You’re going to take your phone or camera to record something around you that’s related to the videos you create.
For example, I create content about creating and editing videos (and teaching people who want to learn video editing, of course!), so I’ll shoot some footage of my camera and editing software. Don’t think too hard about this. If you can’t find something related to your video, just shoot footage of your desk. Record for 5-10 seconds then stop. You are going to use this footage for a B-roll, which is the video content that you can use in your videos overtop of your talking head.
Related: The Simple Trick to Improve Your YouTube Videos with B-roll
Adding The Clips To Your Editing Software
You’re going to import those two clips to your video editing software. Remember I said it doesn’t matter what editing software you’re using… the process to learn video editing is the SAME no matter what software you’re using. If you don’t know how to start a new project in the software and import your media – that’s your video clips – just google it when this video is over. At the moment, I’m using Final Cut Pro.
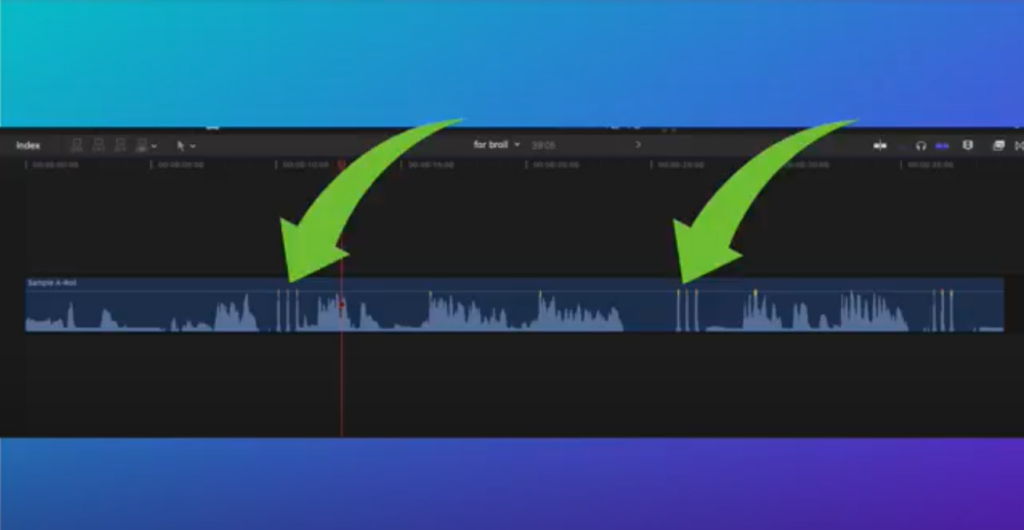
If your video files aren’t already on the timeline, add the first one of where you’re talking. Once you add the clip to your timeline, you should be able to see your video and audio tracks. Notice those wiggly things? Those are the waveform and the three spikes are the snaps you made after a good take when you recorded your video. Now, all you have to do is look for where the wiggly waveforms are happening before the three spikes to know that’s where you said something good. This saves a lot of time from scrubbing through all this footage to find the best part.

Now, the simplest thing to do is cut the video right before the snaps then find your next 3 snaps and cut before those. Those parts you are cutting are the clips that you messed up in or don’t want to keep. This will give you a good rough draft, but some fine-tuning and cleaning up needs to be done.
Zoom into the clips, and use the arrows on your keyboard to go frame by frame. You are going to fine-tune these cuts by getting rid of every single frame that doesn’t need to be there e.g. awkward pause, which can determine if your video looks more amateur or pro.
To enhance your video add a little bit of music. I get my background music from Epidemic Sound. Once you find your background music, import it into your editing software and bring it down to your timeline. You don’t want the background music to overpower what you are saying, so bring the volume WAY down. This is a very common mistake among people who are just learning how to edit videos. Use your headphones to really listen to make sure the background music isn’t going to cause the viewers to strain their ears to hear what you are saying.

Adding The B-roll
Now for the b-roll, drag it down to your timeline and place it on top of your A-roll or rough draft clip. You can use it over your talking-head video in any place to show the viewers what you are talking about. If your cuts look and seem a bit jumpy, you can use your b-roll to cover it up and make your video look more seamless. Use it as one clip if you want or break it up where it makes sense.
There you have it! The basics of teaching yourself how to edit the videos that you are working on in 1 hour no matter what type of videos you’re creating.
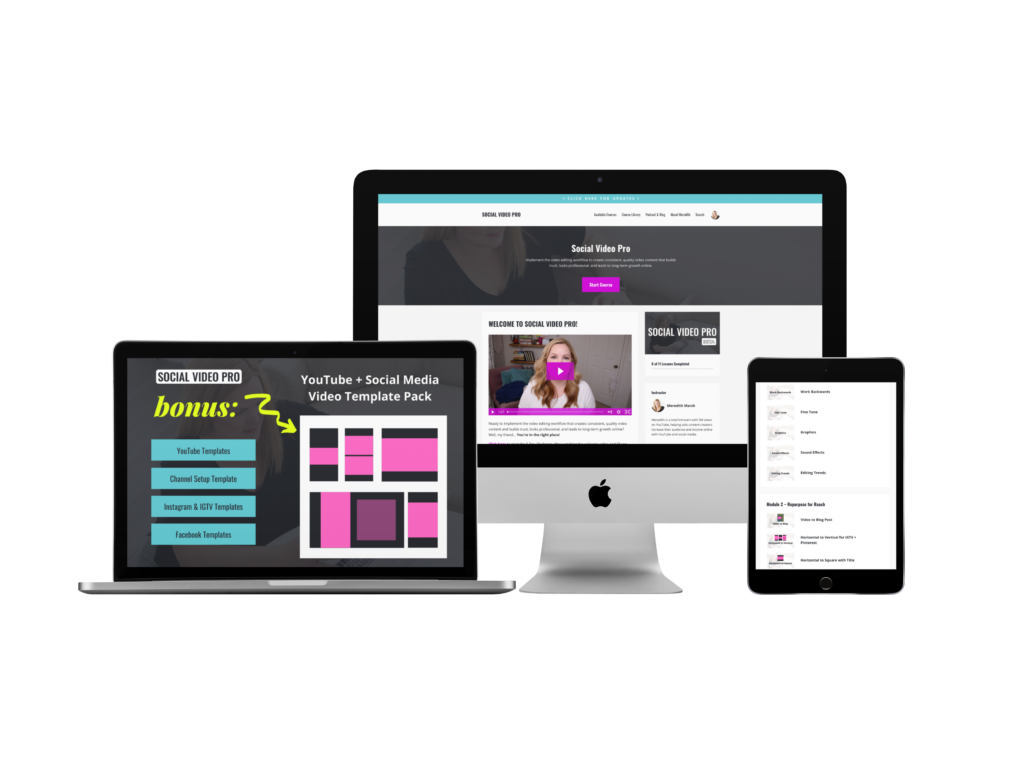
There are a couple more moderately advanced things you can do such as an L and J cut for your audio to overlap just enough to smooth things out, fading music in and out, plus lower thirds for your name and social media. I cover all this and much more in my video editing for beginner’s course, Social Video Pro.
Learn Video Editing Step by Step
Video is one of the most powerful things you can use to promote your brand, but you might not have a budget for a fancy video production team or in-house expert, so here’s a secret: if you don’t know how to edit videos yourself, learn fast and learn right!
Be the raddest (is that even a word?) video creator you know with Social Video Pro! Get LIFETIME ACCESS to this brand-new YouTube video editing course, some pretty dang sweet bonuses designed to help you look professional in your videos; and grow that audience of yours by implementing some tried and true tips.
VIDEO: Learn Video Editing In an Hour
Click here to subscribe to Meredith Marsh on YouTube.

