How to Write and Draw on Top of Videos with iPad
Wondering how to draw and write ON TOP OF videos? Using your iPad, it’s simple! And using your own handwriting in your videos along with sound effects is a fun way to use your creativity on YouTube!
Some product links in this post are affiliate links, and I will be compensated when you purchase by clicking our links. Read my disclosure policy here.
Thanks to Epidemic Sound for partnering with me to bring you this tutorial on how to draw and write on top of your YouTube videos! Use my link here to get your 30-day FREE trial for the best sound effects.
Write and Draw on Videos with iPad
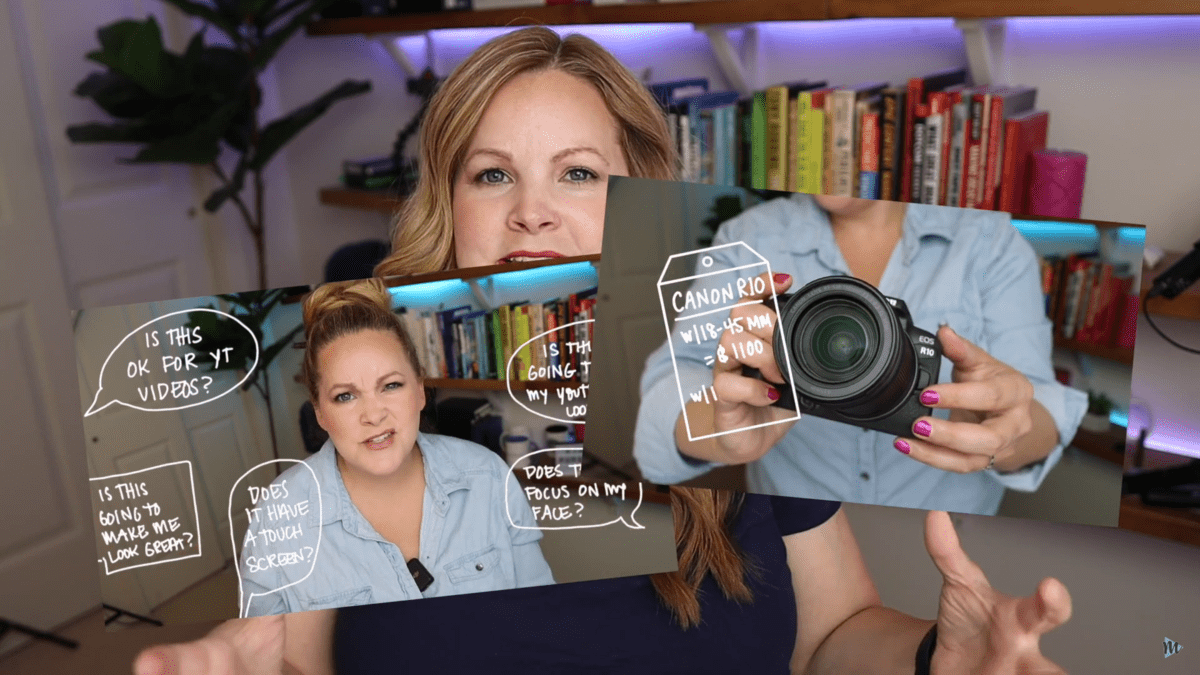
If you're like me, you like to kind of find ways to spice up your YouTube videos, for lack of a better term, in a way that's easy and fun, maybe unique to you, and speaks to your own creativity. And one of the ways that I've been doing that is adding my own handwriting over the top of my YouTube videos, like while I'm talking. I've been having a lot of fun by incorporating some different ways of doing this, even a little bit of drawing and some sound effects to really add a fun spin.
What I really love about this technique of using your own handwriting on your YouTube video is that nobody can copy it. No one can take that style and copy it because it's your own handwriting. It's unique to you. So I want to show you how I write on top of my YouTube videos with my iPad and my Apple Pencil, and how I make it all work inside of Final Cut Pro.
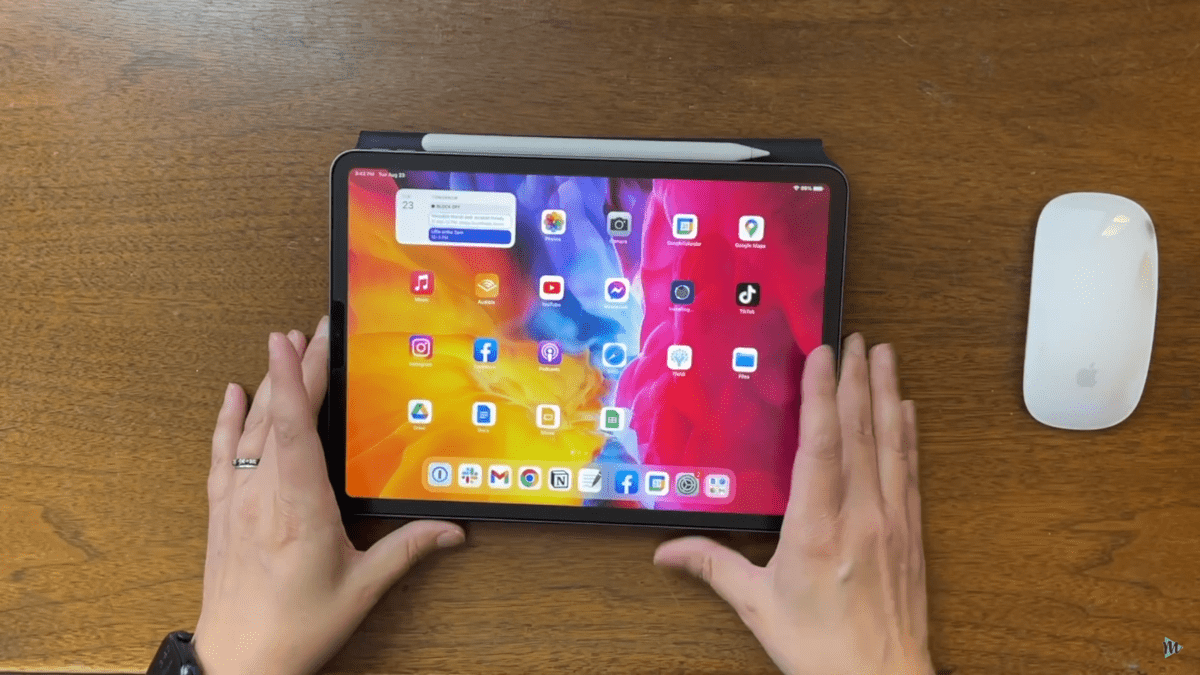
If you're new here, my name is Meredith, I love creating videos and helping you create videos faster that actually grow your YouTube channel. And I'm using one of my favorite tools which is my iPad Pro. Now, I use the 2020 version. It's not even the new iPad version or anything fancy like that. And I'm using the Apple Pencil too for this.
Choosing a Software to Use to Write and Draw on Video with iPad
So you're going to need any app where you can write on the screen and create handwritten notes. And also, we're creating a green screen and writing on that green screen, so Procreate is an option. I love using Procreate for drawing. What I don't like about it is that the canvas is maneuverable. You can use your hands or use your fingers to pinch and zoom and move it around. You actually don't want that to happen when you're creating handwritten titles and drawings for your YouTube video.
So instead of Procreate, what I have been using lately is Good Notes. No matter what app you're using, you're going to need to start with a canvas that is 1920 by 1080. So it's the same exact size and same dimensions as your YouTube video.
Setting Up The Green Screen On Your iPad
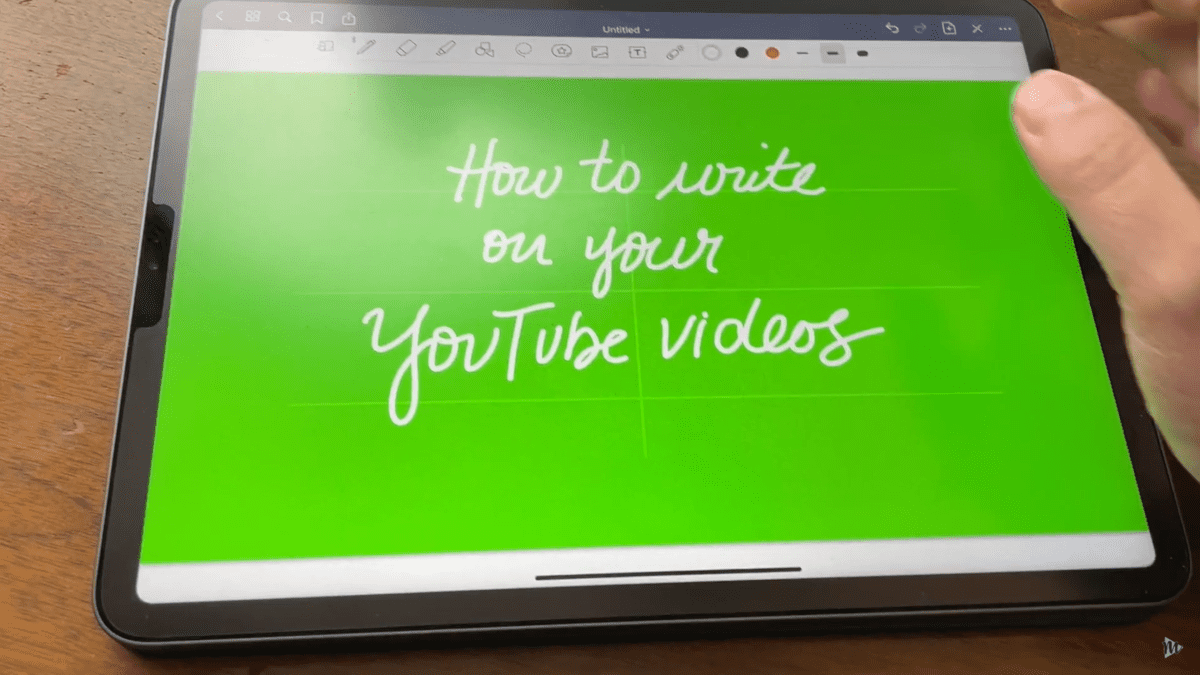
You're going to need a green screen. Basically, it's just a green background. You can use an image that is the right dimensions for your YouTube video. Also, you can use a plain green background with some lighter green horizontal and vertical lines that you can use as an indicator to make sure that you're actually writing in a straight line. You could put more in there, those are all going to disappear when we bring them into the final cut.
So you will either have to import an image or a PDF that's 1920 by 1080. Or you can use the green screen I created. You can download it through the link in my description. This is already sized at 1920 by 1080. So if you download that image and you have it on your iPad, all you have to do in Good Notes is come up to the top, right click “Add New Page,” import, and select that green screen image.
To make this work, all we have to do is record the iPad screen. So if you swipe down from the top right, and hit that record button, it's going to record everything that's happening on the screen. So you can write on the screen and erase it as many times as you want. Because remember, the whole thing is being recorded. So when you're done, all you have to do is pull down from the top, and tap that record button.
Transferring From Your iPad to a Desktop
Now the recording will save right to your photos app. And then from here, you can scrub through and you can see how you wrote on your screen. Of course, we're going to have to bring this into the editor and get rid of that green screen. And in order to do that, you're going to have to send this to your desktop.
I use both an iPad and a Mac so I can AirDrop it to myself, but some other options might be to text it to yourself or email it to yourself and add it to your Dropbox or Google Drive. I can just send it directly to my desktop and bring it into the editor.
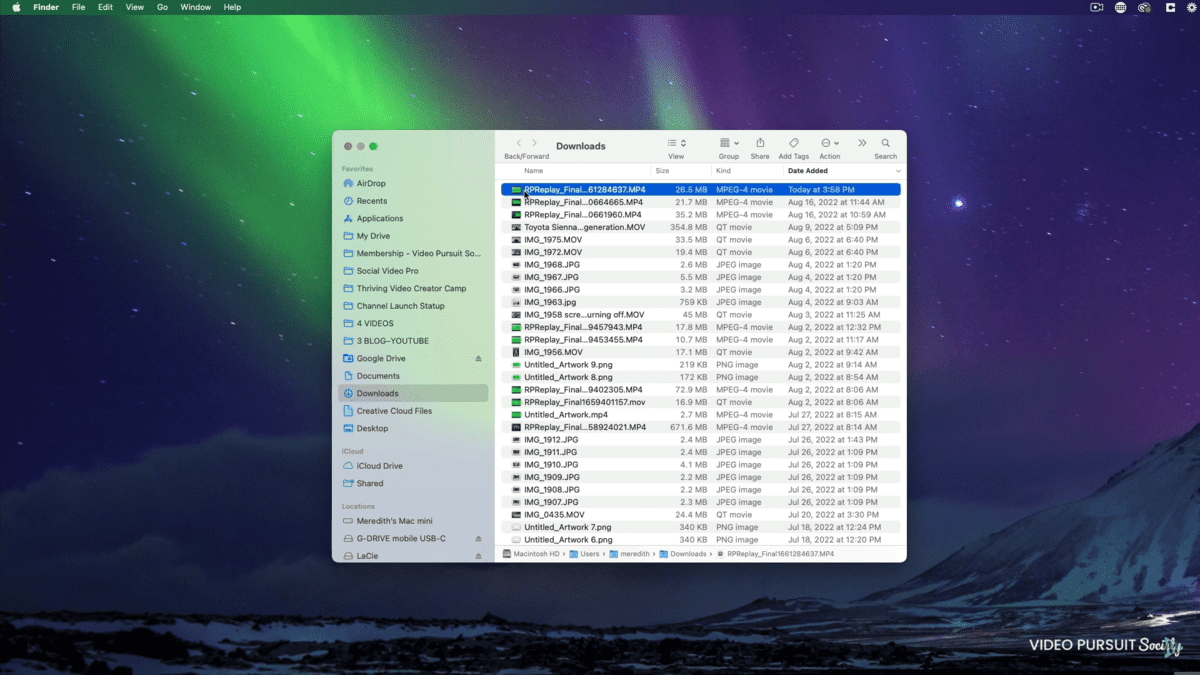
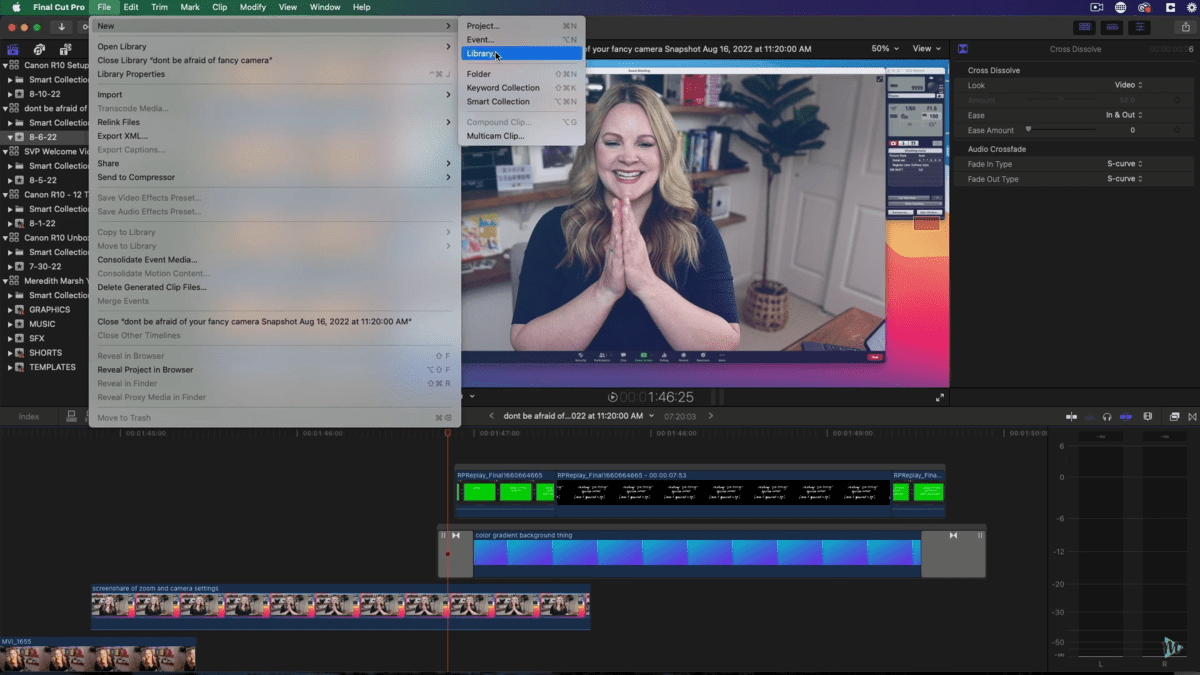
So on my desktop in my downloads folder, all of my airdrops go to my desktop. If you open it up, it's just the whole screen recording. Everything is here. We will then bring this into a Final Cut project. So what I like to do is create a new library.
You can name the project whatever you would like, then we're going to put that inside of the folder that has the intro clips I recorded so far. Now I like to keep my files organized. So I just go ahead and move my screencast screen recording from the iPad over to a folder in my inbox. This is just how I organize all of my YouTube projects individually.
Editing Your Video
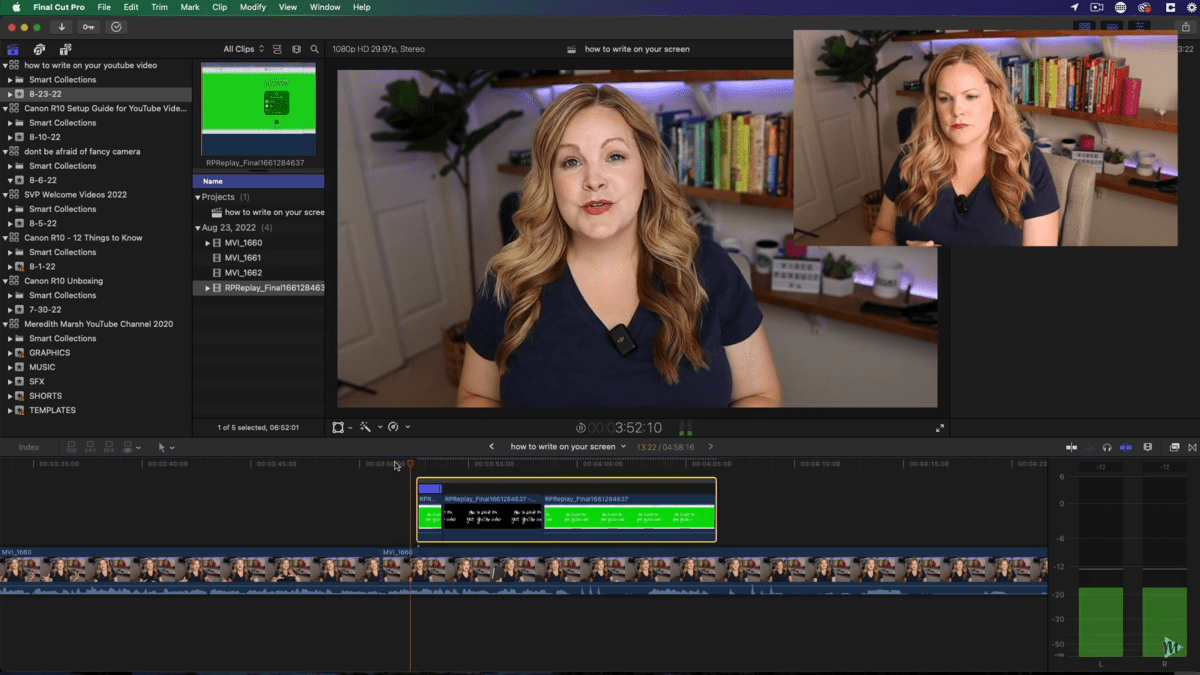
So apart from that, I also have my clips for the intro to my videos. So you can just drag them over and import them into your project. We just need to do a new project and write the title so we can actually get started with this. Just take your video and drag it down the timeline. You can then proceed and look for a great title spot.
Then with the title screen that you created with your screencast and handwriting, you're going to take that screencast and drag it down to your timeline. After doing so, you may notice right away that there are several problems: It's not the right size, you can see the vertical and horizontal lines as a guide, and you can see the top part of the app and the bottom part of the app. So we have to fix those.
Adjusting the Text Layers

Before doing anything, we're going to crop the top and the bottom. So under the crop pane, I have the screen recording selected. We can then go to “Top” and just eyeball it. You can just go down until all you see is green at the top, we don't want any white or any other color or this isn't going to work. After doing so, all that should be left is just the green on the screen.
After doing so, you can see that you have both the green and the writing. We can then adjust it as necessary and bring it up a little bit. This makes the lighter green guidelines more useful since you can eyeball the middle and kind of see where all of the other horizontal lines are.
Keying and Using the Green Screen to Write and Draw on Video with iPad

Now, under the options effects panel, go to video effects, then keying, and then you have keyer. All you have to do is drag that keyer effect over to that actual clip and see what happens. It keyed out the green just like you would do with a green screen. Now, it does this automatically, the settings are pretty much on point for this particular color green.
If you're using a different background or a different shade of green or something, it might be necessary for you to adjust it a little bit. The problem that may sometimes arise is the lines from the guidelines sometimes show up when I don't want them to. All you have to do is just fix it with this Strength slider under the keyer in the Effects panel. In any case, you can go above 100%. You can just use your mouse to slide up. So if you give yourself some guidelines, and they're still showing up, just keep going on the strength until they disappear.
So now this whole entire screen recording clip has no green background, it's cropped centered, and it's exactly positioned the way that we want it to be. For me personally, I scrub through the footage, kind of the same way that I edit my B roll. And that's essentially what it is. We can then erase the title screen and go back to where we start writing.
Customizing and Adjustments
You can then check the footage using the arrows to get to just the right frame where you can start. When you do write on the screen, remember, just write at your normal pace. Don't rush it. Don't be sloppy. Just use your normal handwriting and go at your normal pace.
You can then adjust it. I really like to get to the end, so all the words are on the screen, and we want to animate in. We want to animate the handwriting happening, right? And then we have the eraser that comes through. And I usually like to include that part.
So sometimes I want the writing to be on the screen for a little bit longer than what it was when I recorded. We can take a freeze frame. So now we can have a still image that can be longer or shorter, depending on what we want to do there. You can also shorten or speed up the clip if needed.
The whole title can stay on the screen or, right on top. You can adjust the length and even animation based on your style. If you want it shorter, you can speed up the erase function on the iPad and that's it.
Syncing with the Recording

So you can use that freeze frame to adjust how long the words stay on the screen. And then use the command R, the speed function, to adjust how long or short you want the animated drawing or writing to be. It isn't 100% complete, because I think what really makes the drawing on the screen is just a little bit of sound effect to go along with it just to kind of keep things snappy and keep the viewer's attention.
My favorite sound effects to use are pops and clicks but I have a nice collection over in my assets folder under sound effects. So what I usually use is something like a mouth pop. It's just an itty-bitty little sound effect. So it's kind of hard to see there. And then we'll go with Apple mouse click, we'll drag this down.
Now coming back over into Final Cut, we can have a sound effect happening when a text pops on the screen, and then we have a click happening when it goes away. After adding it, it can be adjusted according to how you like. So you can add a pop and a click, or click and a pop, or two different clicks or two different pops.
Where to Get Background Music and Sound Effects?
Now all of these sound effects that I use here and in some of my other videos, are all from Epidemic Sound. That's also where I get my background music, and I've partnered with them to bring you this blog post. They have such a great selection of all different genres all different types of background music and sound effects. I love that I don't run into any copyright issues with the background music or sound effects so I can use them in my videos on YouTube, TikTok, Instagram, Facebook, and even in a podcast episode. If I wanted to try to find background music that you have the license to use in your YouTube videos, finding the right music that actually sounds good that goes along with your video can be such a huge time suck and a headache.
That's why I just go straight to Epidemic Sound for everything. I don't have to worry about it. I keep a collection of background music that I use over and over again in my videos, but they're always publishing new music in all different types of genres from their artists who are incredibly talented. So when I'm in the mood for something new I go there but it's also great to have my go-to background tracks and my go-to sound effects tracks from Epidemic Sound. So if you want to try Epidemic Sound for yourself, you can use my link and you'll get 30 days free.
Conclusion
Hey, creating YouTube videos is supposed to be fun. So I think writing on your screen, getting a little bit creative, using your own handwriting, and your own drawing is just a really fun way to incorporate your own creativity into your YouTube videos in a way that no one else can because it's all coming from your own hand. And if you like easy YouTube videos, the “no-jargon” type, including how to use a camera or how to edit your YouTube videos, make sure you hit subscribe, stick around. I'll put my playlists up here for you. Let me know in the comments if there's anything else you want to see here when it comes to using your iPad to create your YouTube videos.
VIDEO: Write and Draw on top of Video with iPad
Click here to subscribe to Meredith Marsh on YouTube.