BEST Screen Recording Software for Mac
The secret weapon to record your Mac screen in high quality for YouTube videos and courses is Screenflow. It's easy to use, has an integrated editor with effects, pointers, and graphics. Plus, it works with all Apple products.
Some product links in this post are affiliate links, and I will be compensated when you purchase by clicking our links. Read my disclosure policy here.
BEST Screen Recording Software for Mac
Wanna know my screen recording secret weapon? It's called ScreenFlow. ScreenFlow is an easy to use screen recording and video editing software for the Mac, where you can record everything happening on your monitor, but also your camera, your microphone, iPad, iPhone, and computer audio which is perfect for YouTube creators, bloggers, course creators, teachers really anyone creating video content where your viewers need to follow along with what's happening on your screen.
Where ScreenFlow really shines, especially compared to free screen recording software, is the built-in video editor gives you the ability to edit your screen recordings, not just editing out the pieces and parts where you stumbled over your words or had to start again but pointers, text, and sound effects that actually help your viewers see what's going on on your screen.
Related: Record Yourself and Your Screen at the Same Time
How To Record Your Screen on Mac
With the ScreenFlow 9 open, go to the new recording section. You have the option to record multiple screens or devices, depending on what you have plugged into our computer at the time. Since I have one monitor, the Thunderbolt display, I'm going to select it. If I want to, I can record from either my iPhone or webcam.
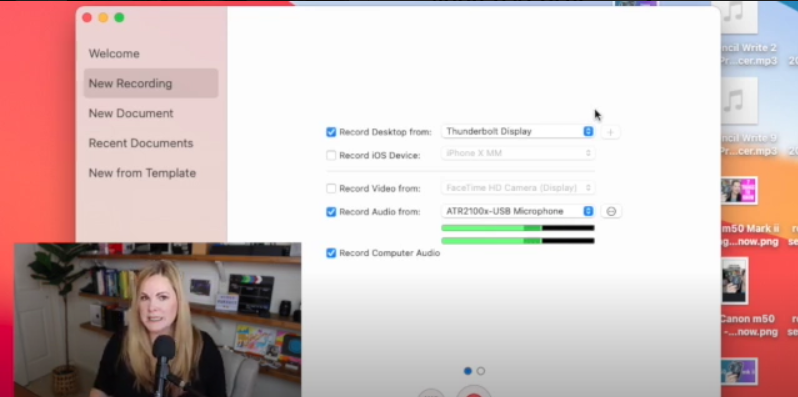
You can choose to record audio from any of your external microphones or your computer audio. You will have to install the computer audio driver. Once you install it on your Mac, you'll be good to go.
When you select the little blue dot, which is the more advanced setting, you can choose your frame rate. For me, I set my frame rate to the highest. For the timeline, I set it to 30 frames per second. Depending on what you are trying to record, you can set a timer or a loop.
At the bottom of the recording section, there are two buttons: a red button and a little button with a square. The red button records the entire screen. The little button with a square records a partial screen capture, giving you the option to change the size and dimensions and choosing any part of the screen you want to record. You can select some predetermined dimensions like 1920 by 1080.
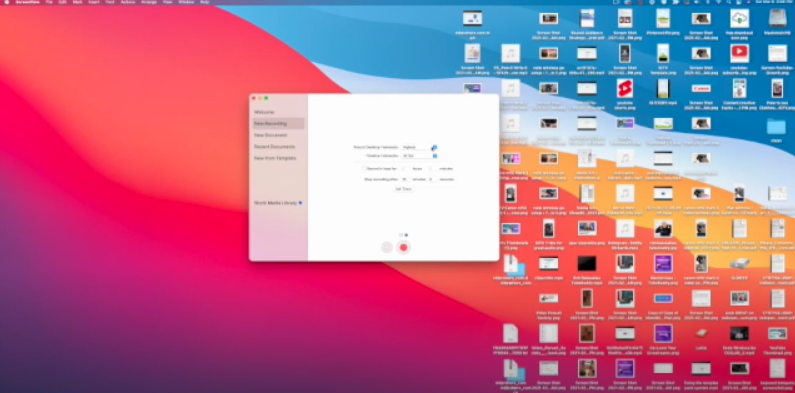
When I hit the big red button, it records my entire screen, webcam, external microphone, and iPhone. If your desktop is covered with icons like mine, go to the menu and select hide desktop icons to give your desktop a neater look. If you want to pause or end the recording, select the little ScreenFlow icon in the mini-menu bar on top, where you can stop the recording, pause it, add a marker, and see the length of the recording.
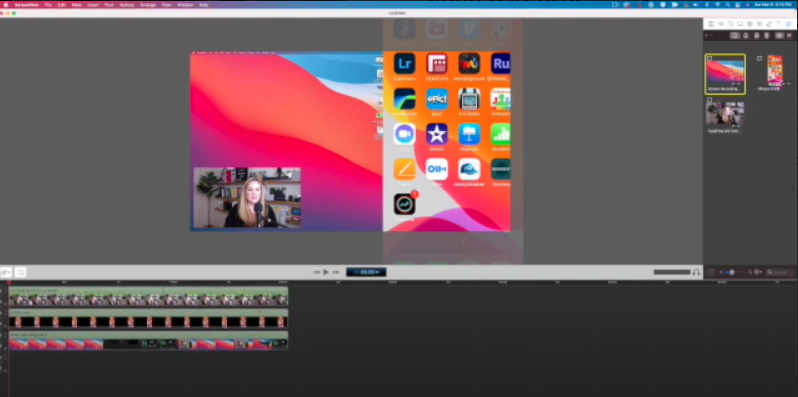
When you stop the recording, ScreenFlow turns your screencast into a project. Pretty much like any video editing software, it has a preview window at the top and a timeline at the bottom. On the right side is the media bin with all the different tracks and media pieces. When you record with an external mic, it becomes its own audio file. If you record your audio with your computer microphone, then the audio is attached to the actual screen recording. You can treat all of these different media pieces as individual video clips.
Removing Unnecessary Clips from Your ScreenCast
If there is a long piece or multiple clips you want to get rid of, you can do it in two ways. One way is using Spilt Clip. To achieve this, select the clips you don't need, then right-click and select Split Clip. Now, you have separated the clips from the timeline. To get rid of the clip completely, select the clip and hit delete.
The second way is Ripple Delete, which allows you to delete and edit at the same time. You can select the I button to select an in points, and then the O button at an out point. When you hit the delete button, it would completely remove the section and shifts your clips together, so you don't have to worry about any weird gaps in your timeline.
Adding Recordings to Your Screencast
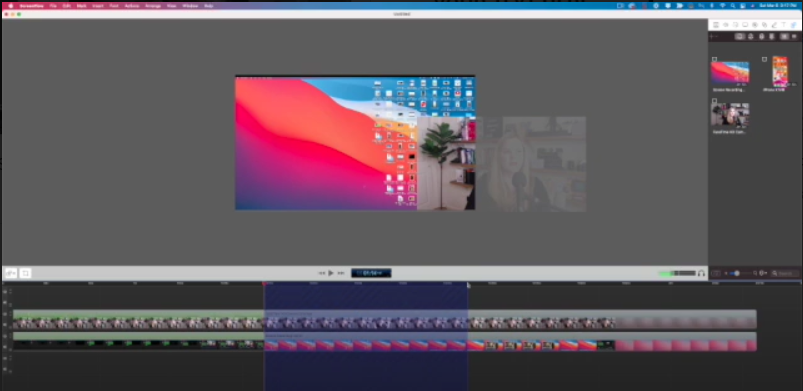
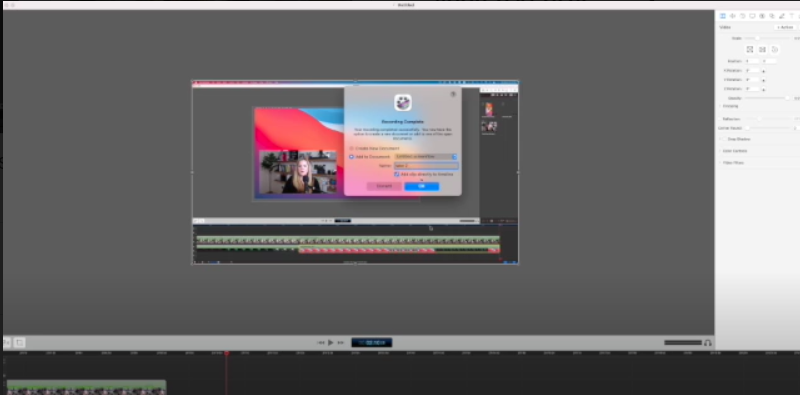
Even though you hit the stop button on your screencast, you can still build upon it. You can record a completely different section and add it to your timeline. Also, you can rerecord certain sections and build up your screencast as you go. Basically, you do not have to complete your screencast in one sitting. When you record the new section, it would ask if you want to create a new document or add it. To include it in your screencast, click add it and select add clip directly to timeline.
When you're editing your screencast, I recommend you remove the parts you want to delete so you're left with what you need. You can then start to get fancy with the editing, which is where I think ScreenFlow really shines as the best screen recording software for Mac because of all of the easy-to-use options and features with the editing.
The ScreenFlow Editor
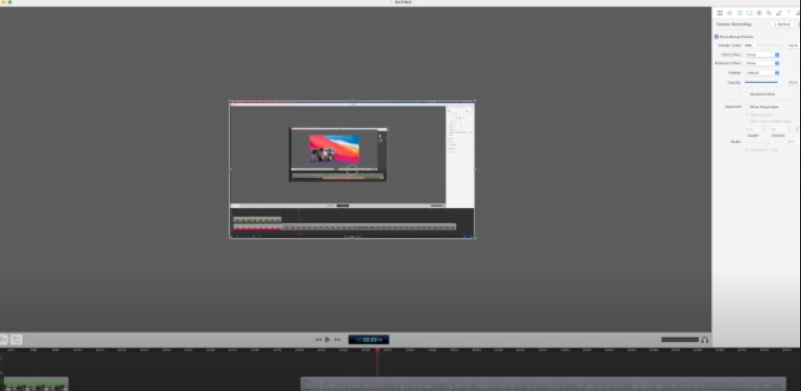
On the right-hand side, we have the Control Panel area, where the effects are located. In the video settings section, you can decide to scale up and zoom in on the recording. Another effect on the video settings section is opacity. In the speaker section, you can edit the audio track by increasing or decreasing the volume or mute the audio completely. In the screen recording settings, you can edit what goes on within the screencast. Some of the effects included are showing the mouse pointer, increasing the mouse pointer size, and attention effect. In the attention effect, you can have a red radar effect or sound when you click.
The callout section is really great, especially for YouTube videos. You can point out things on your screen that you don't want your viewers to miss or overlook. You can choose areas of your videos you want to blur out such as sensitive information and the background. If you have watched my tutorials, you noticed that I blur out my username, password, phone number, and other personal information. If you use your phone to screencast, you can create a touch call for your viewers to see exactly where you are touched your screen to open up an app or do something within an app. You can also add simple shapes, drawings, texts, background music, and external files.
Now, you can see why I said ScreenFlow is the BEST screen recording software for the Mac.
If you're not already using ScreenFlow, you can get a trial to test drive to see if it's for you. You can use this link to access the trial: http://vidpromom.com/screenflow. This will allow you to follow along with me as you watch the YouTube video.
VIDEO: BEST Screen Recording Software for Mac
Click here to subscribe to Meredith Marsh on YouTube.