HUGE Calendar Wall – Plan With Me 2021
In this blog, I'm creating a JUMBO calendar wall in my studio! Want to plan with me for 2021 with an oversized wall calendar? This is where I'm starting! I love planning for the new year, and I'm expecting 2021 to be amazing, so it's only appropriate to make a large calendar wall to map out all the amazingness. One of my favorite things about doing this as a DIY project is that it's minimal and affordable.
Some product links in this post are affiliate links, and I will be compensated when you purchase by clicking our links. Read my disclosure policy here.
Planning Your 2021 Calendar?
Do you want to know my favorite thing about the month of December? Okay. I have a lot of favorites. Yes, I love decorating the Christmas tree. Yes, I love listening to Christmas music on full blast and singing along to it. However, I also love thinking and planning for the new year. So, I always try to give myself some mental space to take the time to think about what I want to do next year and what I want to accomplish to kind of set the stage for all the magic to unfold in the next 12 months.
Create an Amazing Calendar Wall!
I've never done this before. We're going to create a jumbo gigantic, huge, enormous, amazing calendar wall. I'm not 100% sure if this plan is going to work, but I've done the measurements and I think it's possible. I'm going to show you how I'm doing it along the way so that you can create a giant wall-sized calendar for yourself. We do need some supplies here. The following are the materials I've used:
- 15×18 in. Post-it Notes (Mini Easel Pad)
- Black Chisel Sharpie Markers
- Colored Clickable Sharpies
- Small Post-it Notes
- Pencil
- Ruler
I know this time of year is incredibly busy for most people. It's the holidays, it's Christmas. The year ending, new year beginning. There is a lot to think about, and that's actually one of the reasons why I think setting the stage by setting up a calendar, even if it's not on your wall, is a really smart thing to do during the month of December.
Once the new year comes and things go back to normal, or at least as normal as possible, you now have a “blank slate.” You're just setting the stage for all of the amazing things that you want to have happen in the new year. Even if you can't take the time to actually plan everything, you already have that framework.
Related: YouTube Publishing Workflow
Creating The Calendar
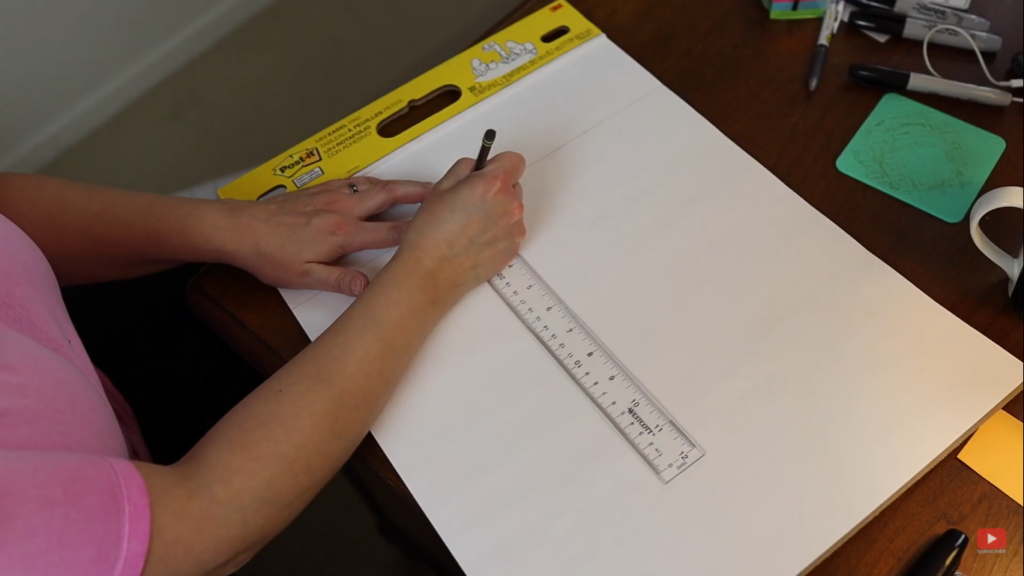
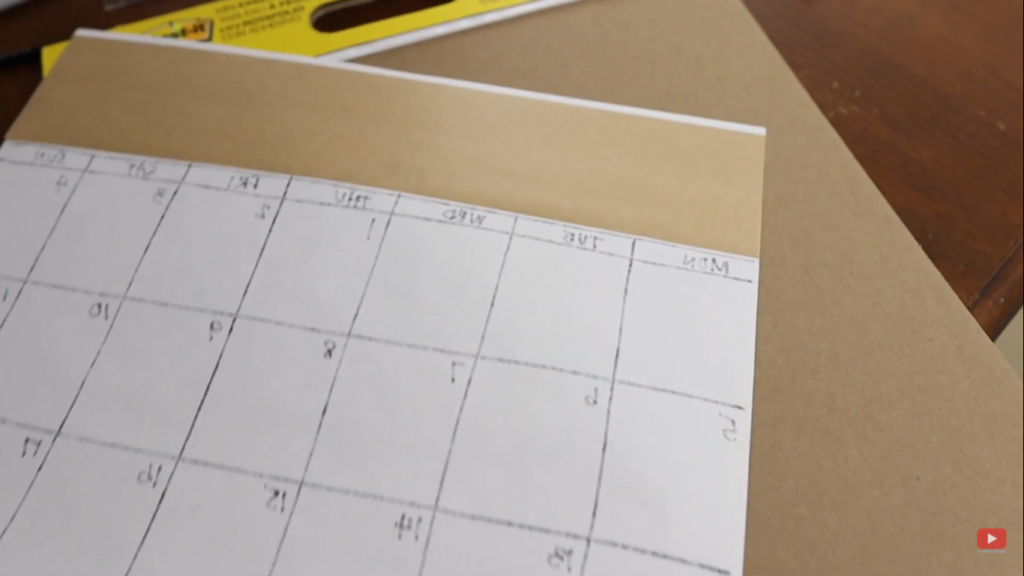
So our Mini Easel Pad is 15 inches wide by 18 inches high. We're going to use our ruler and our pencil. Now, you only have to do the measurements once. Then, you can use it as a template and just trace the other pages for the other months. If you happen to have a yardstick, it might actually be easier than using a ruler, but I find it easier to start at the top.
We also want to give ourselves some space to actually write the name of the month. So we're going a quarter of an inch up from the top of the calendar and placing it in the middle. For some reason, the very top part of the mini-easel pad doesn't have the same texture as the paper. So you can't really write very well with a Sharpie up there, and that's why we're starting our writing a little bit down.
Creating Calendar Grids
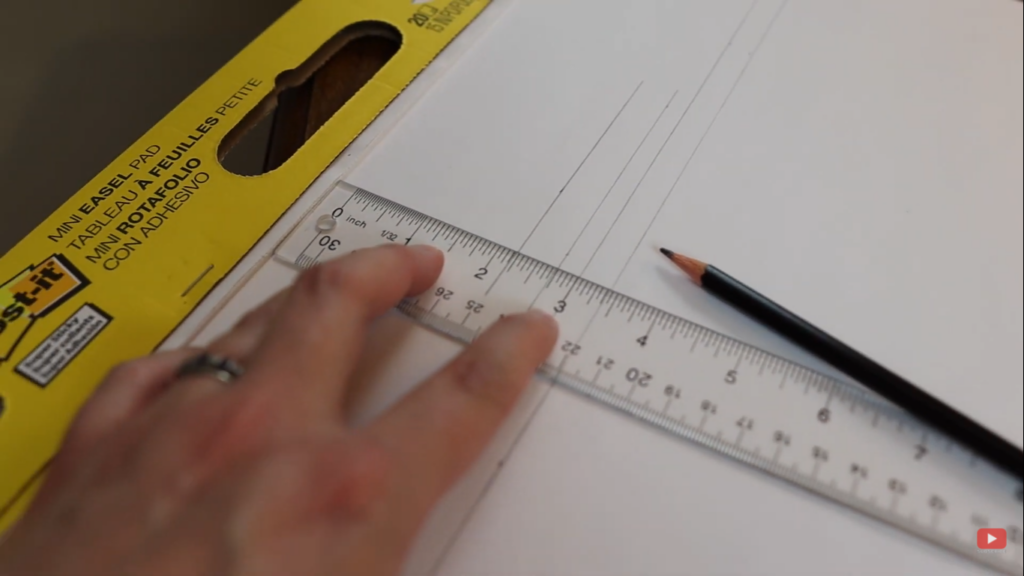
Next, we want to give ourselves about 3/8 of an inch to write in the name of each week. I'm not a super perfectionist about this. Now, to do the grid down, those are going to be 2.5 inches each. So, you should be able to get five rows here in our calendar. Now that you have your horizontal rows, you want your grids across to be 2 1/8 wide.
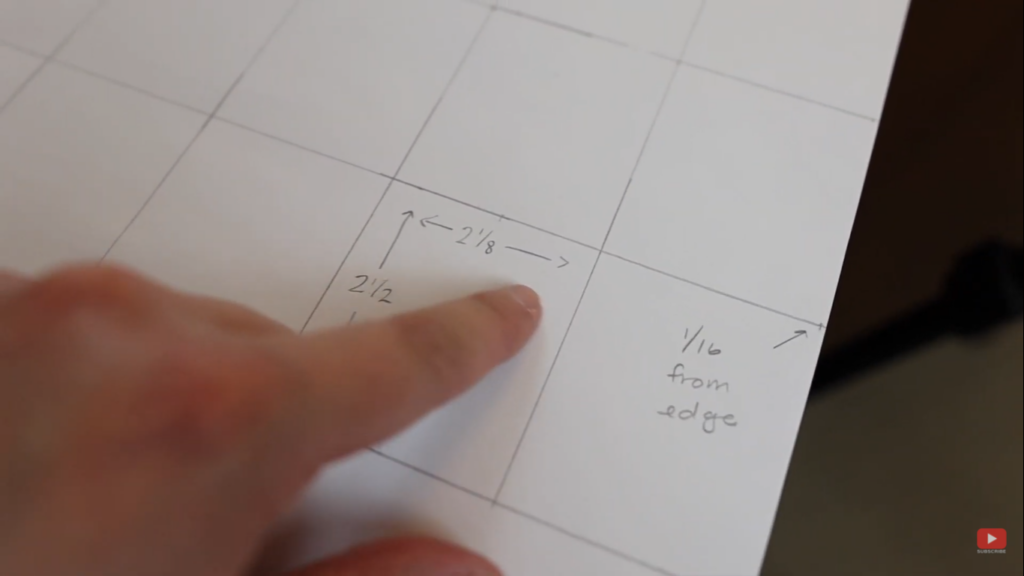
This particular piece of paper gives us an extra eighth of an inch. So if you want your grid to be perfectly centered, you're going to have to start at exactly 1/16 of an inch inside the edge of the paper. So each day of our calendar is 2 1/8 inches wide and 2.5 inches tall. It's 1/16 from the edge on both sizes so that the grid is completely centered.
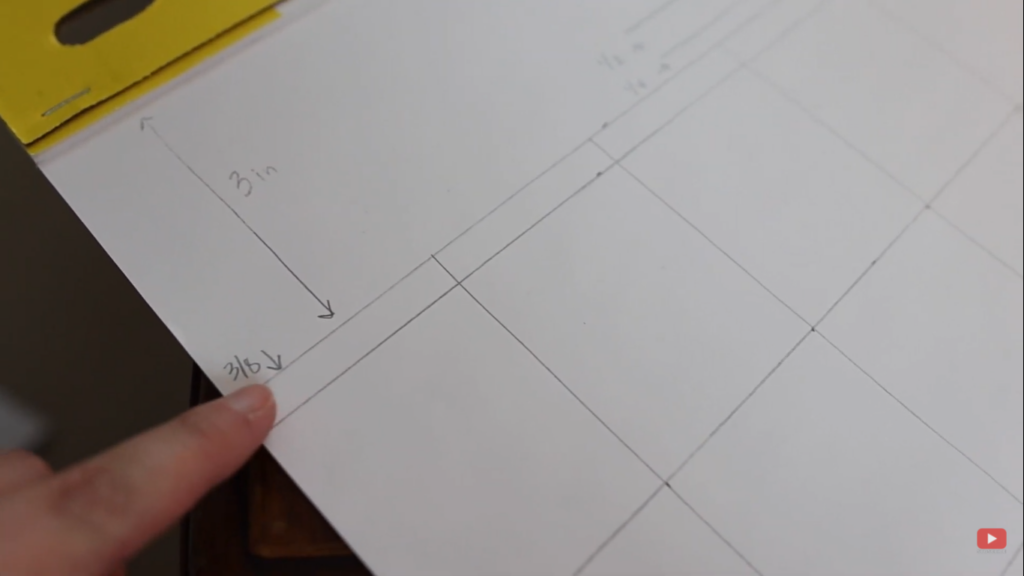
Then up at the top, we are 3 inches from the very top. We have 3/8 of an inch for the height of each day of the week. Then, where we're going to put the actual name of the month, we have 1/2 inch to write that, and it's 1/4 of an inch from the top of the calendar.
Finishing the Page
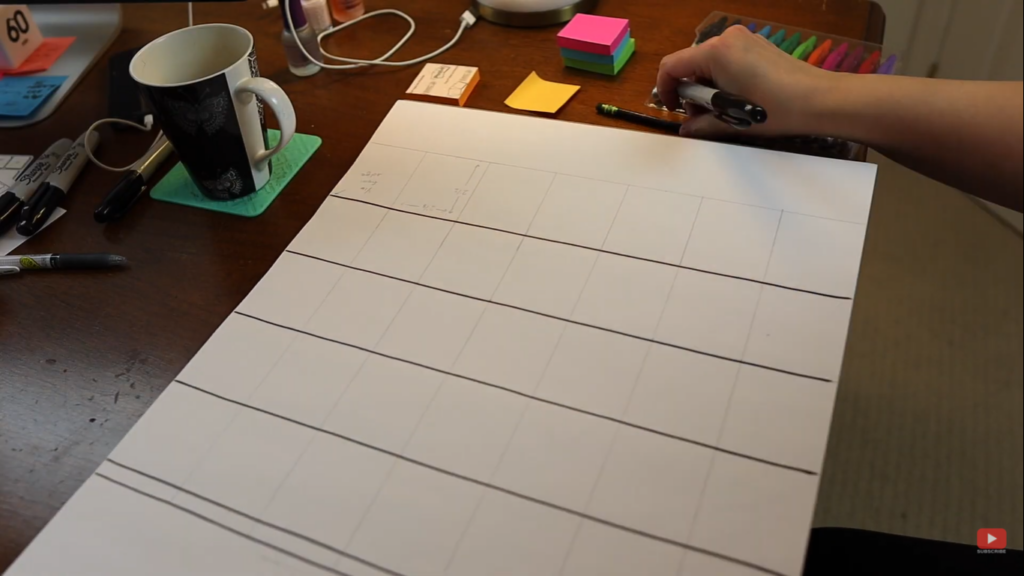
Now, we're going to use a nice new black Sharpie to go over our lines, and I'm going to put the days of the week for my calendar wall. For me, I like to start my calendars on a Monday. I just feel like it makes more sense in my brain.
Creating More Pages
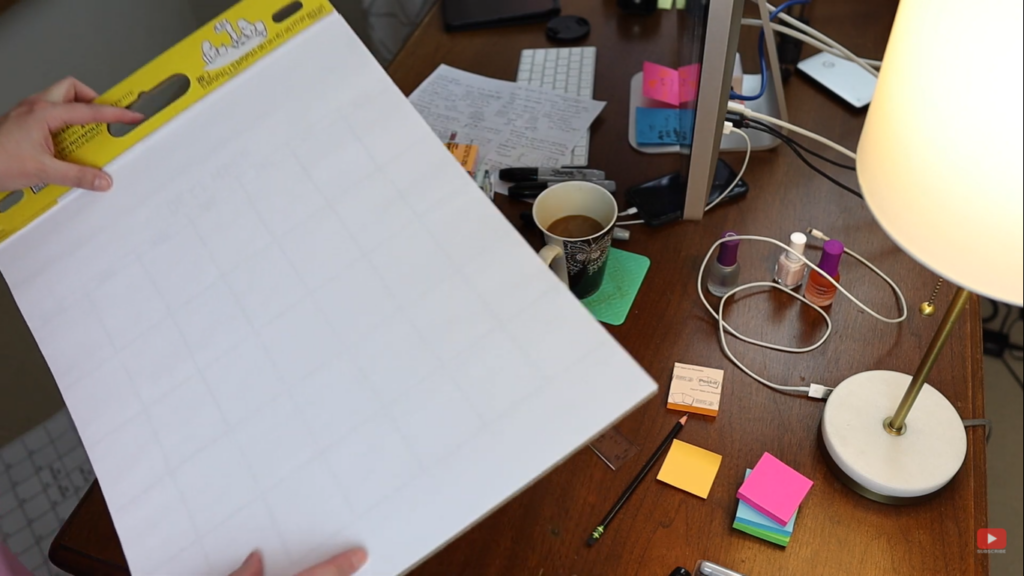
It's nice and minimal, and once everything is spelled right, you can now proceed in making the next pages. In theory, we should be able to use the calendar we just created as a template. Since you can see through it when you put it behind a blank post-it page, all you really have to do is use the Sharpie to go over the lines.
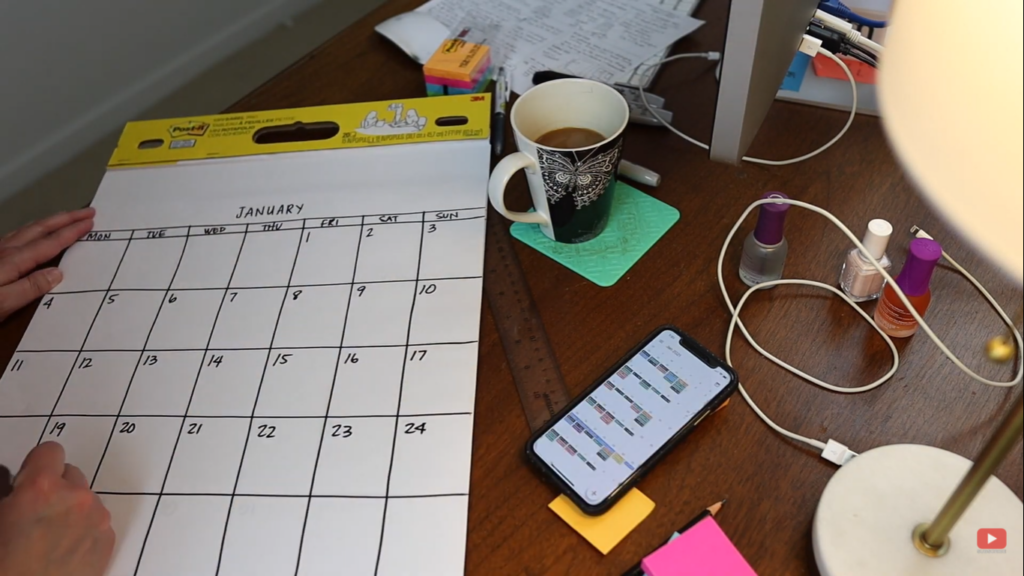
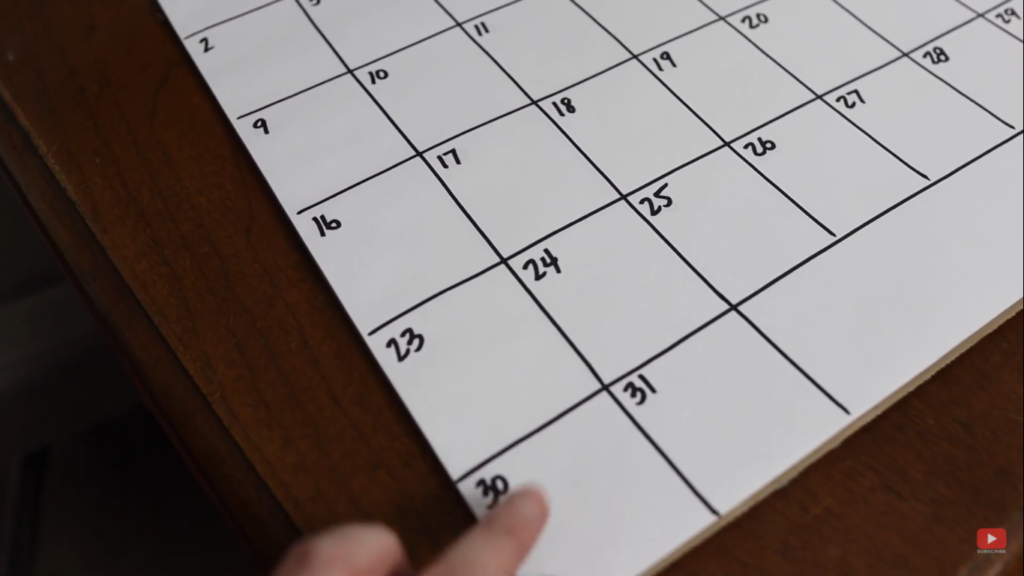
Another important thing for your calendar wall is to write the numbers of each month. You really have to make sure that you start out on the right days, so you can use your phone calendar for reference.
I recently did a workshop with Stephanie Crowder. She has this thing called “Year on the Wall“, and that's partly what inspired this blog. While I was doing this, I found a little bit of a hack for you. If you go to the very last page of the actual post-it notepad, you can use it as your template. That way, you're not sticking and re-sticking the post-it page template on all of the different pages of your calendar wall as you go through.
For months like August 2021, you have to go below the five rows that I have designated there. I've just added those blocks at the bottom. They're not a perfect 2.5 inch tall. They're more like a 2×2 in. square. There are so few months where this actually happens, that I'm not really that worried about it.
Calendar Wall Finishing Touches
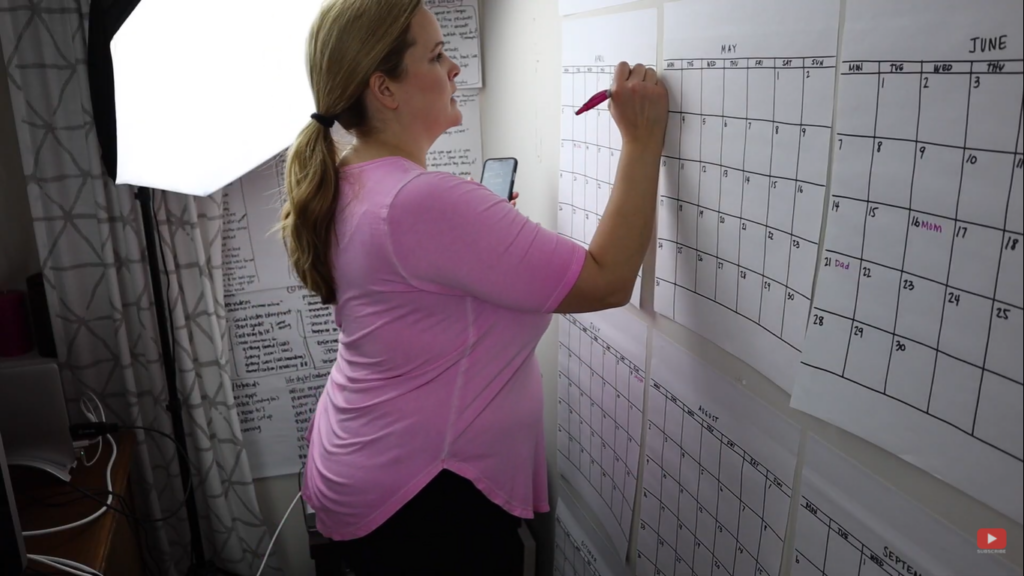
Once you have every month on the calendar wall completed and posted on the wall, it might get a little bit awkward with the ones that are way down near the floor. My next phase is I want to add in the important dates such as birth dates, anniversaries, and things like that on my calendar wall and mark it using the pink sharpie.
Related: Planning Out YouTube Videos
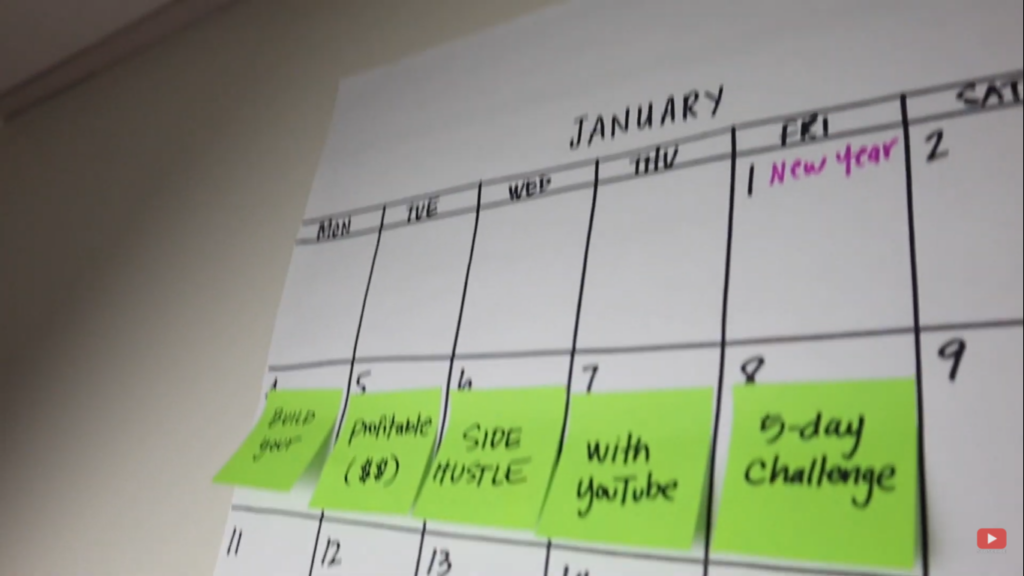
The next thing I'm going to do is take my sticky notes and add some things in the calendar. I want to put in here any commitments that I have made. For example, the next five-day challenge, Five Days to Build your Profitable Side Hustle with YouTube is starting on January 4th. Now, when I'm at my desk, I'll be able to see that I'm going to be busy that week rocking and rolling inside of the Facebook group and helping everyone plan their YouTube channels for the new year. I won't have to schedule anything else for that week.
More Amazing Content!
If you have made your own calendar wall, I want to see it! Make sure you tag me over on Instagram, @meredithmarsh.co. This is going to be amazing! We're going to take over 2021 with our calendar wall, our Sharpies, and our Post-its.
Now, if you like planning, and you are a content creator, make sure to subscribe to my YouTube channel. In the next couple of weeks, I will be sharing how I plan my YouTube videos, my exact process for that, how to come up with content ideas, keyword research, SEO, all that stuff. So stick around!
HUGE Calendar Wall
Click here to subscribe to Meredith Marsh on YouTube.