CapCut Settings to AVOID
There’s nothing more frustrating than wasting time having to re-do your edits for your video. With that, here are some of the CapCut settings to avoid so you can create and upload videos faster for your viewers.
Some product links in this post are affiliate links, and I will be compensated when you purchase by clicking our links. Read my disclosure policy here.
Thanks to Epidemic Sound for partnering with me to bring you this Capcut Tutorial! Try Epidemic Sound free using this link: vidpromom.com/epidemicsound
CapCut Settings to Avoid
So here are some settings to avoid if you’re editing your videos using CapCut. If you’re like me, then the reason you use an app like CapCut to edit your videos is that you’re probably busy, you have things to do, or you want to quickly edit a video and get it posted. So when you get slowed down by having to redo an edit because the settings weren’t right, or things just weren’t the way you wanted them to be, it’s a huge pain and it’s super aggravating.
Tip #1: Remove CapCut Logo Default Ending
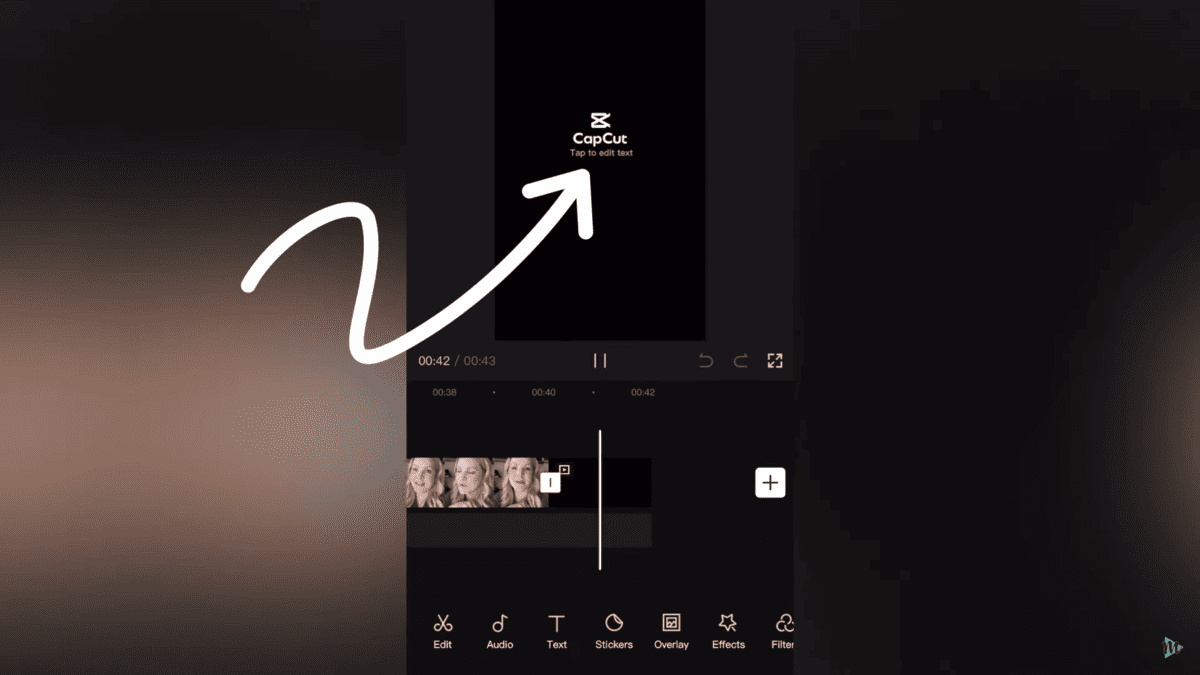
So first, you’ll notice that by default, CapCut adds their little logo thing at the end of every project. However, it’s really easy to delete, you just select it, then hit the trashcan, and it’s gone from your project. But in your CapCut settings on the top-right, there’s a gear icon and there’s a setting in there to disable the default ending entirely. With that, you don’t have to worry about deleting it, or forgetting to delete it, and then having to go back and do it later.
Tip #2: Always Lower Background Music and Sound Effects Volume
Now, I’m not a perfectionist when it comes to editing my videos, but there are a few settings with CapCut that you can change to increase the quality of your videos for the viewer. Tip number two is a background music and sound effects thing. So, whenever you import your background music or sound effects to CapCut, they’re going to play at the maximum audio level. That volume is usually around 92% higher than it probably should be. I’ve talked about this before in my previous videos on my YouTube channel. Anytime you import your own background music or sound effects, always lower the volume.
Related: How to Add Background Music on YouTube
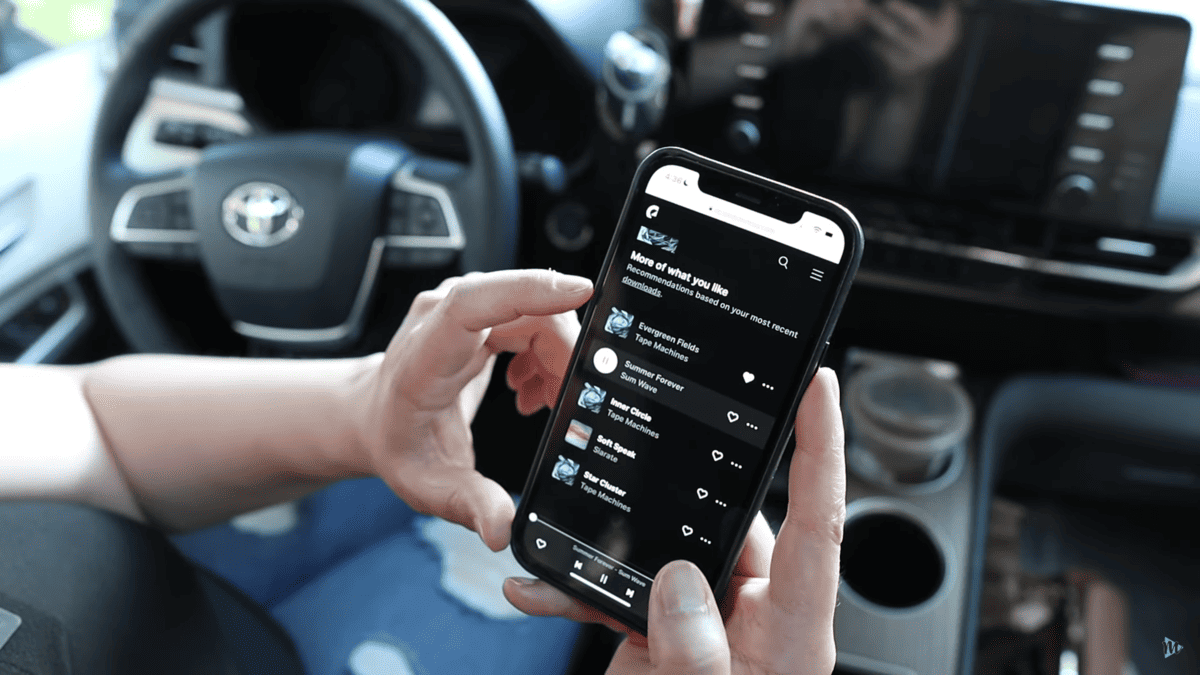
Since I get both my sound effects and my background music from Epidemic Sound, let me show you what I mean. So I’m going to log into my account on my phone at epidemicsound.com just using my browser. Then, I like to find the new background music that’s available because they’re releasing new music all the time. Also, they have a ton of different styles and genres.
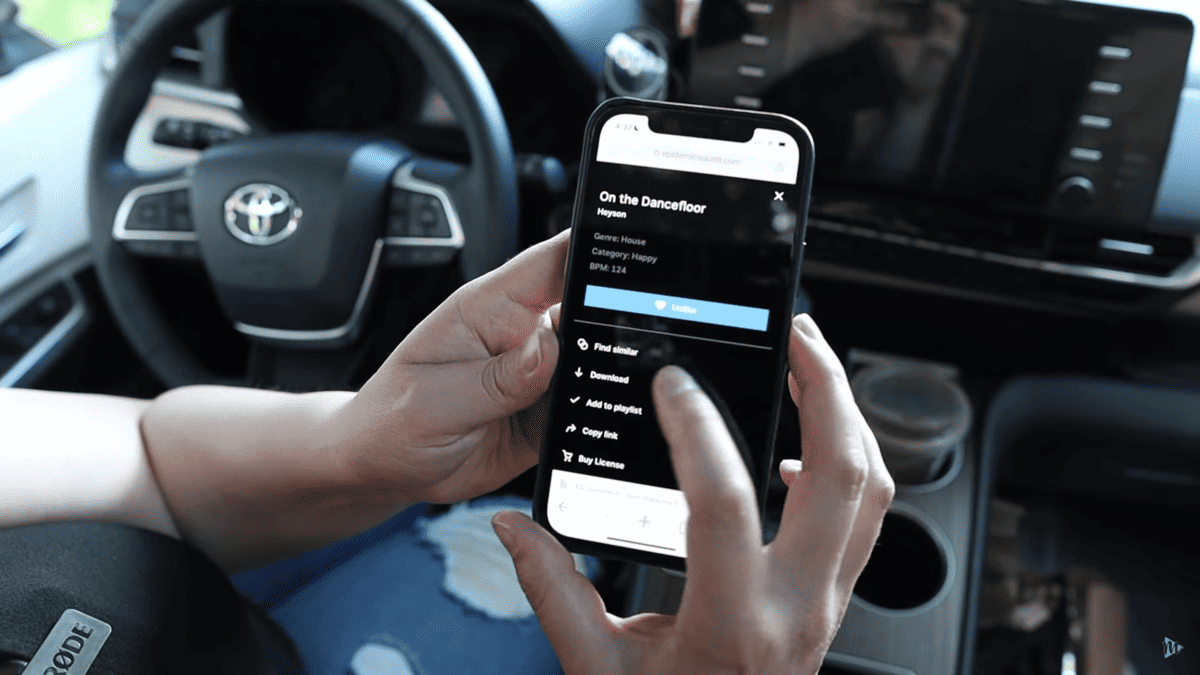
What’s really cool is, with an Epidemic Sound license, it covers my YouTube channel, my Tiktok, and my Instagram, and I don’t have to worry about running into any copyright issues there. So I go through and find the songs that I want to use, or I think I might want to use. I also like to hit the little heart icon that saves the music to my own list of favorites. Then, I can find them and download them later whether I’m editing a video in the future on my desktop, my iPad, or right on my phone.
Download and Import the Music to CapCut
So I’m going to download a couple of these and save them to the My Files folder on my iPhone. If you want to give Epidemic Sound a try for yourself, you can use the link here and try it for yourself completely FREE for 30 days.
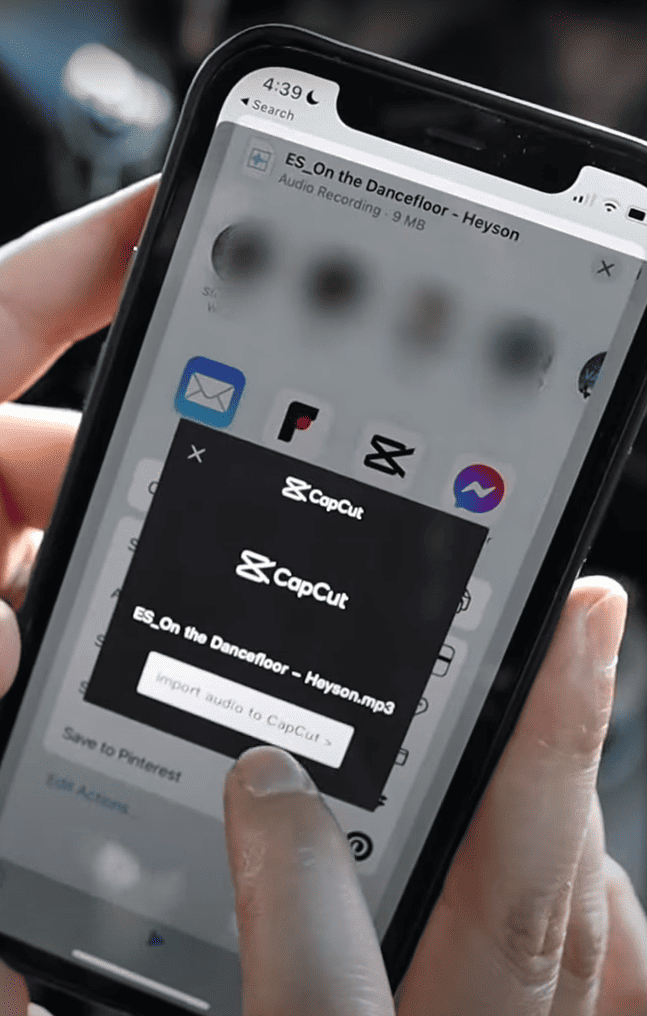
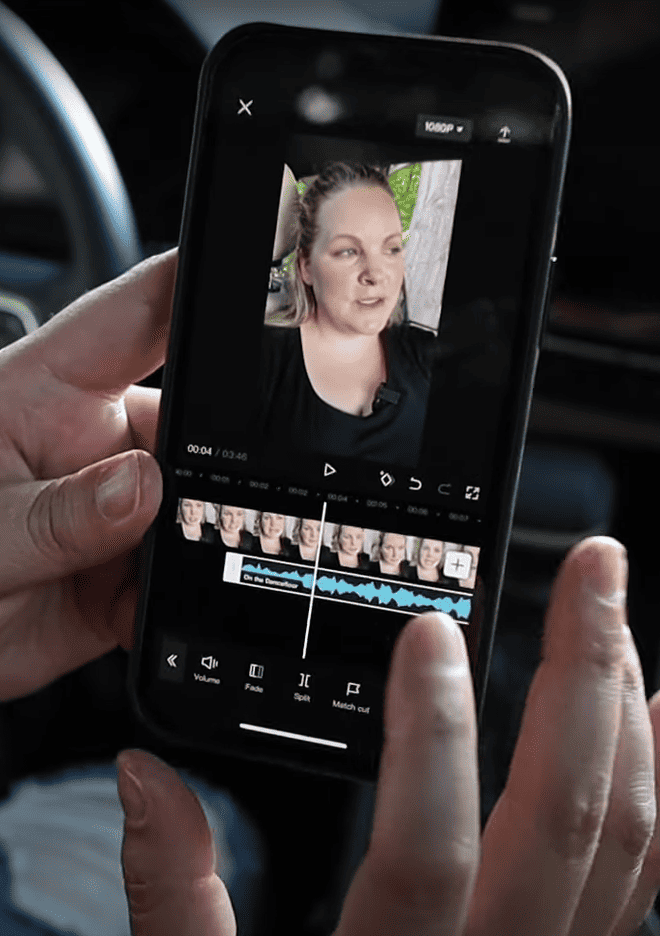
So these downloads go right onto my phone. I open up the Files app, and then all you have to do is select the music file and import it into CapCut. It will go right into the project that you already have. Okay, so all you have to do is select that music track, you can see those waveforms there. Then, just hit volume and bring the volume slider down. Usually, I bring it down to about 8% to 10%.
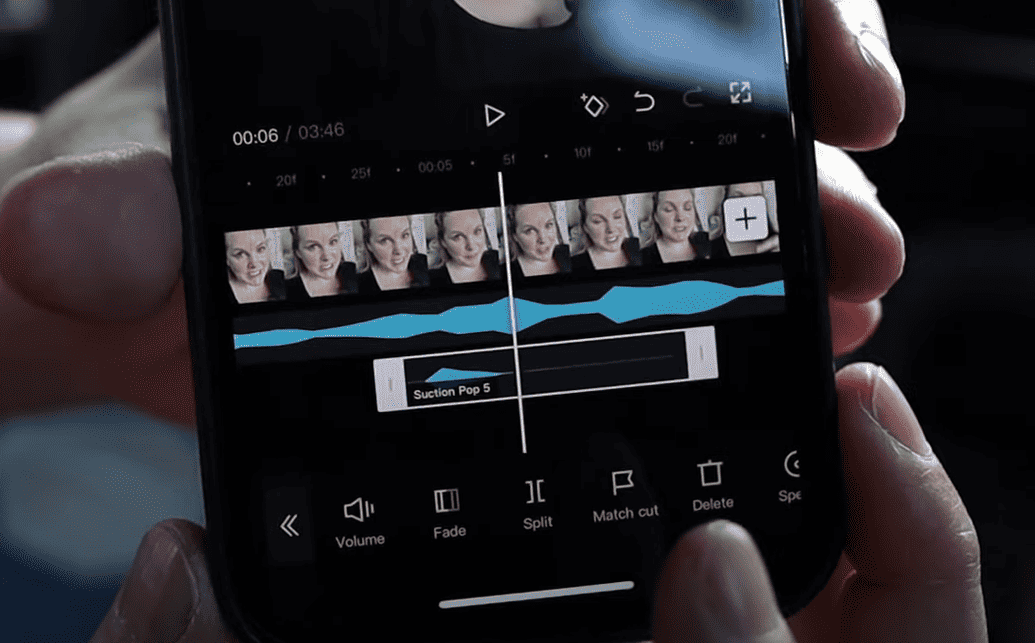
It’s usually the same exact process for your sound effects. You just select it, come over to the Files, and import it into CapCut. And when you zoom in, you can see a tiny little waveform there. That is the sound effect. Just bring the volume down, test it out, and see what’s going to work for your video.
Tip #3: CapCut Text Settings to Avoid
Now, we can’t talk about CapCut settings without talking about the text and automatic captions because there are a ton of different options and they’re a great feature. However, there are a few downfalls that I want you to watch out for.
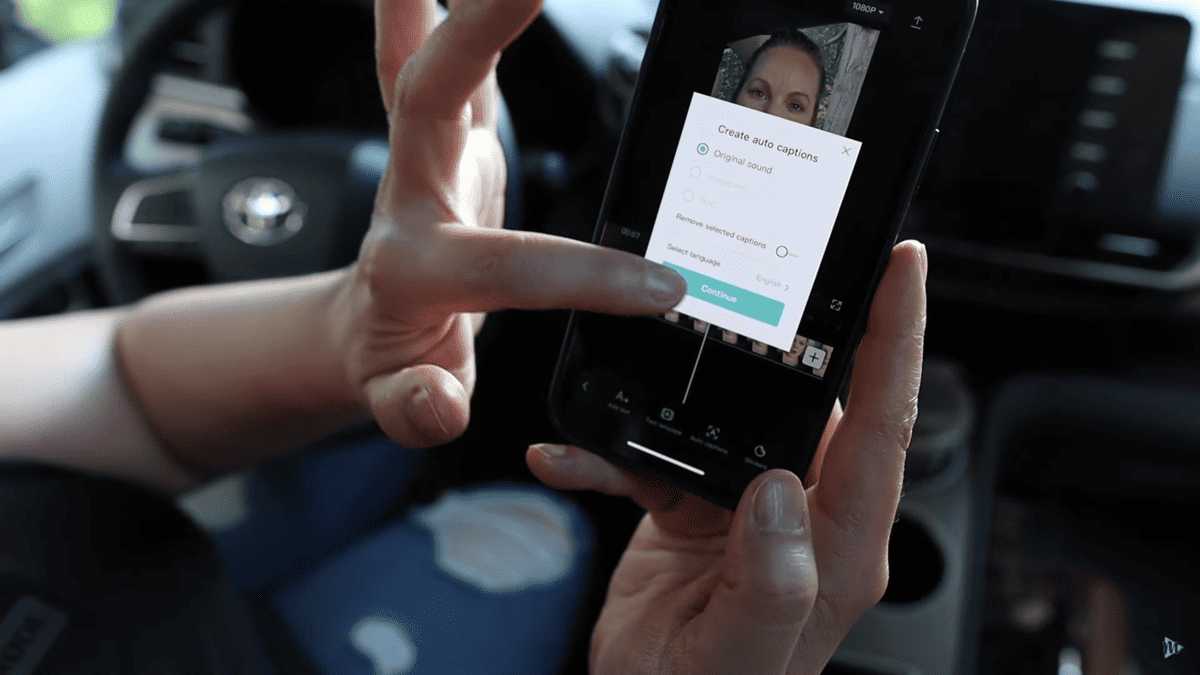
One of the cool things about CapCut is the auto-generated captions. I love, love, love this feature. But you do have to go through each and every automated caption to make sure that it’s accurate. I wish there were some customized settings that you could set for this to make it a lot easier, and then you wouldn’t have to do it every time. And maybe there are, and I just haven’t found them yet.
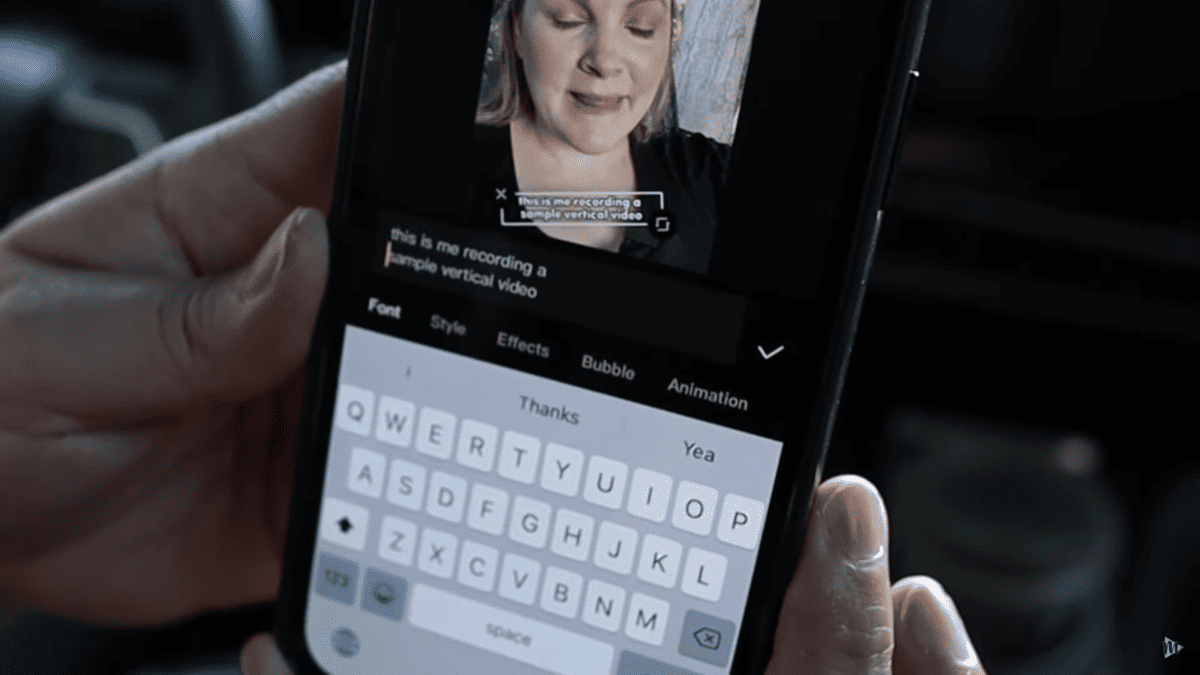
Keep in mind that if you let your captions stay super long, not only are they going to be harder for the viewer of your video to read, but they might actually get cut off when you upload them to Tiktok reels or YouTube shorts. So you can edit each one by selecting it and hitting Enter to just break up those long sentences.
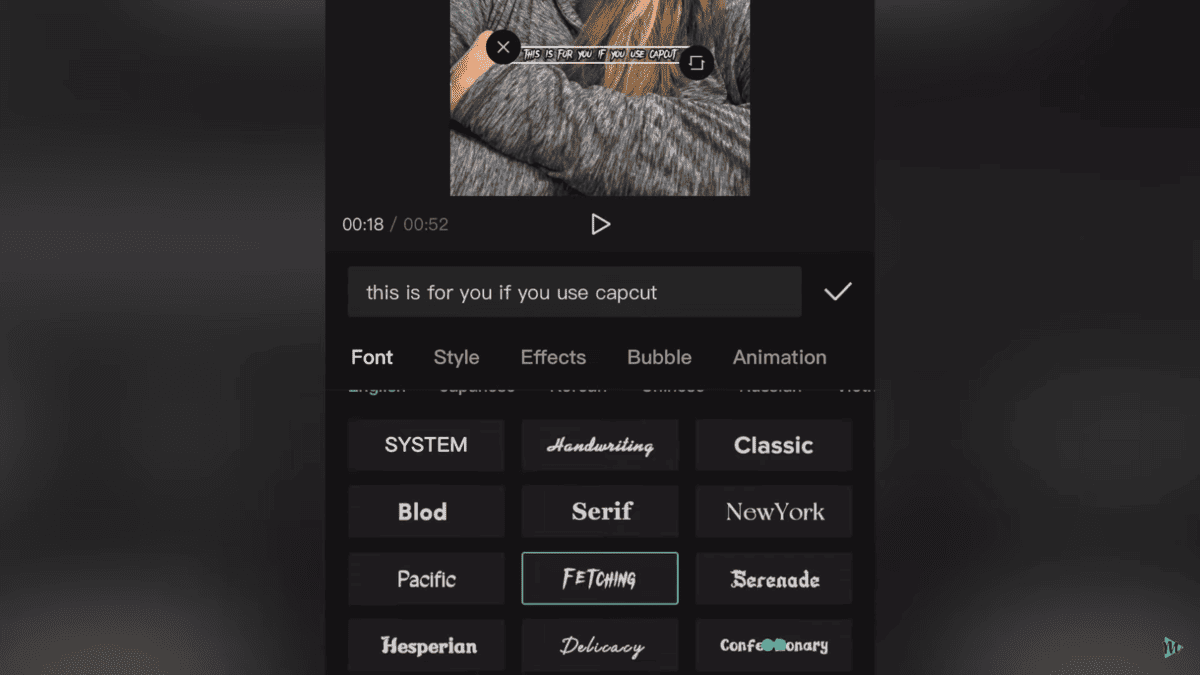
Another thing that I personally think you should avoid with a CapCut is using the handwriting font or anything that is going to be a little bit hard to read when it comes to those automated captions. The whole idea of captions is for people to be able to read them. The fonts that I think are really easy to read are: Classic, Blod, and even Serif, those are all good to use. But a lot of those other ones are just a little bit harder to read.
Tip #4: Export Settings to Check

Lastly, just make sure before you export, that your resolution and frame rate isn’t set to some super weird low number. I export mine at 1080P and 30 FPS. While CapCut is a really great free editing software, video editing can still be really overwhelming.
Discover How To Create Pro-Looking YouTube Videos (Even As A Beginner)
That is why I created the Social Video Blueprint which is a completely free download. It includes my BFF editing methods so you can edit videos faster and create more of them and be consistent with your video creation and your upload. Feel free to check it out along with my Epidemic Sound free trial!
Related: CapCut Editing Tutorial For Beginners (2022)
VIDEO: Capcut Settings to AVOID 🚫
Click here to subscribe to Meredith Marsh on YouTube.