How to Turn Videos into Blog Posts FAST
Do you know how easy it is to turn videos into blog posts so that you can get more traffic to your site, and ultimately, grow your audience? Creating blog posts out of Youtube videos is actually fast, and one of the easiest ways to repurpose videos!
Click here to subscribe to Meredith Marsh on YouTube.
Some product links in this post are affiliate links, and I will be compensated when you purchase by clicking our links. Read my disclosure policy here.
Turn YouTube Videos into Blog Posts
In this post, I’m going to show you 3 easy ways to turn your videos into a blog post FAST so that you can get back to doing the work that matters most in your business, and I’m guessing that typing is not that thing.
Get $10 off your first order with Rev using my referral link! http://vidpromom.com/rev
3 Best Ways to Turn Videos into Blog Posts
The Fast, Easy, and Accurate Way
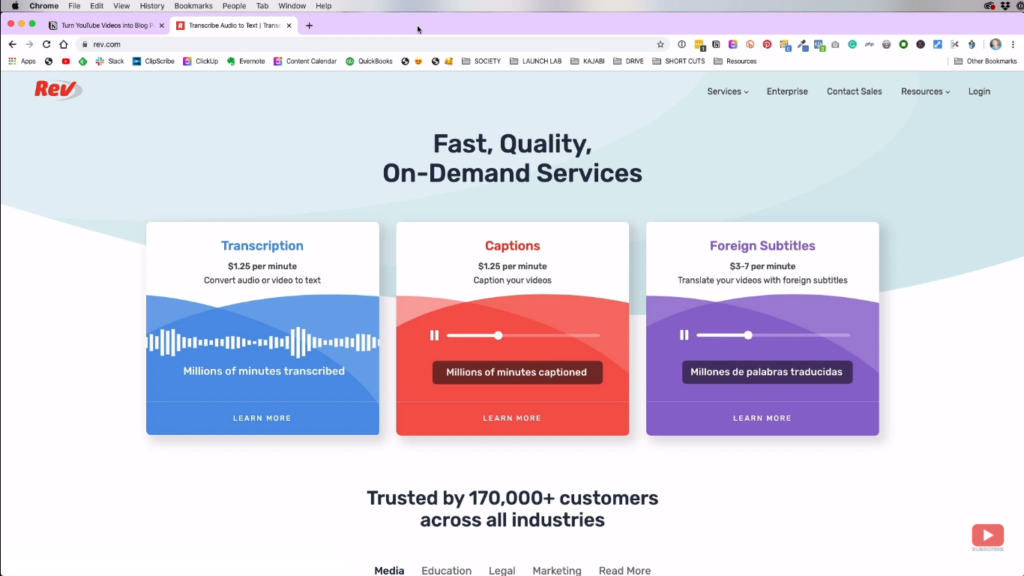
This way can be done through a transcription service like Rev. It is extremely affordable, very fast, and also very accurate with its transcriptions. If you want to try it out for the first time, you can get it with a $10 discount here.
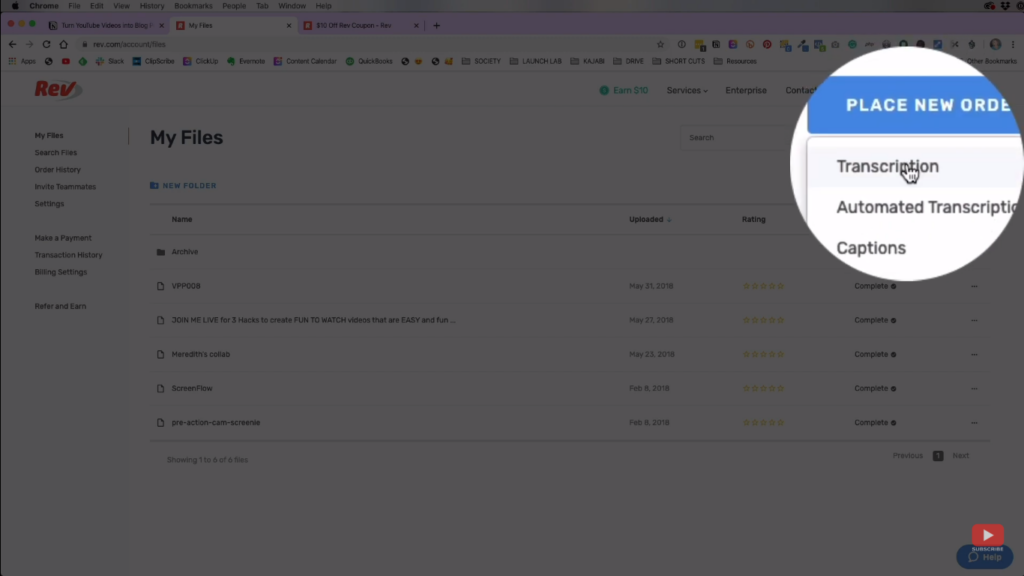
Once you've already set up your Rev account, click “Place New Order” and then choose “Transcription”.
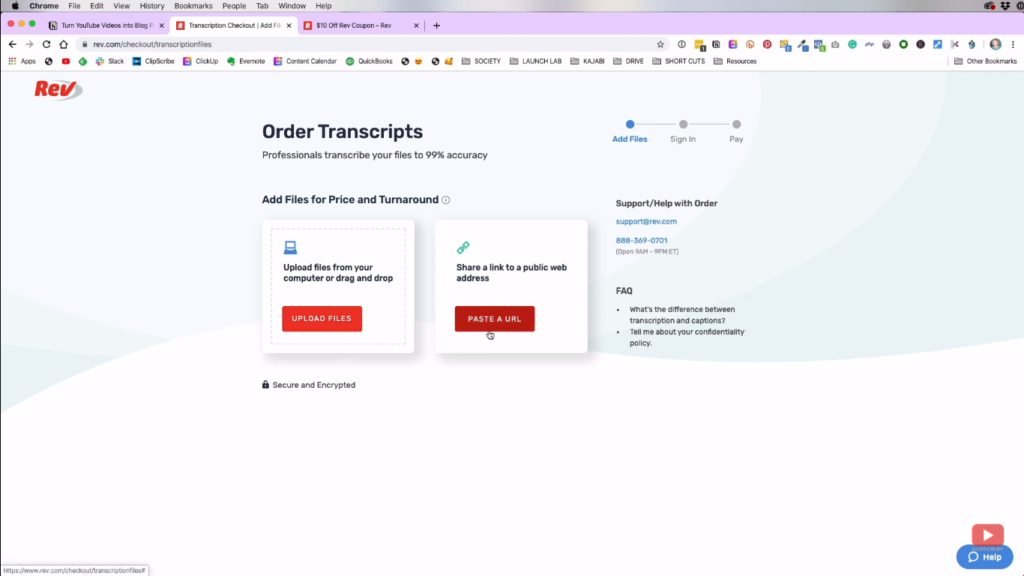
One of Rev's cool features is that you can choose to upload a file or paste the link of the video that you're going to transcribe. Just choose whatever option you like.
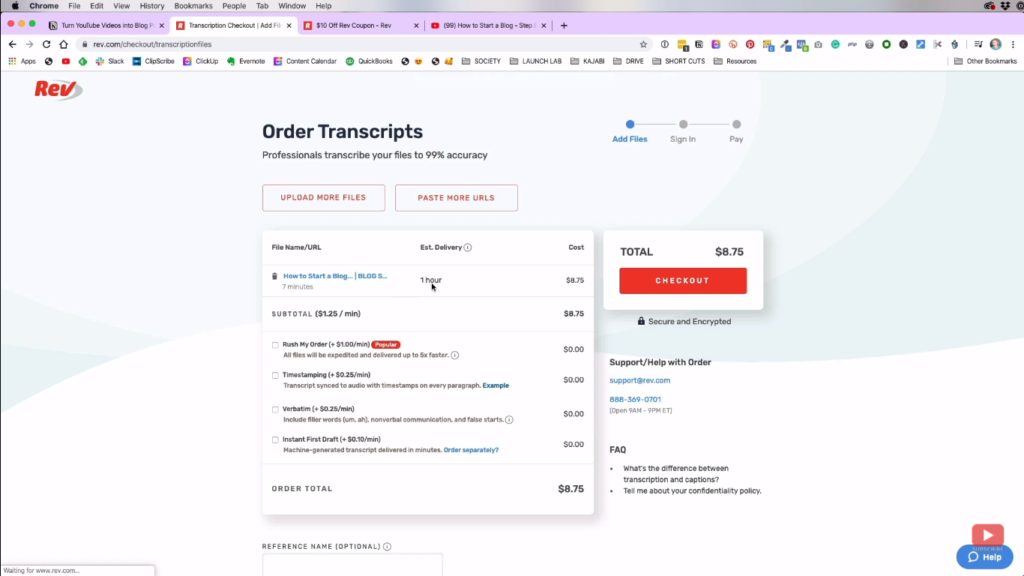
After uploading or pasting the link of your video, it will take you to this page. It already knows the duration of your video and it will tell you how long before they will deliver your order and the price.
It also gives you the options to rush your order, timestamping and many more. However, those options have an extra charge per minute that will add up to your total bill. If you're already done, just click “Checkout” and choose your desired payment method.
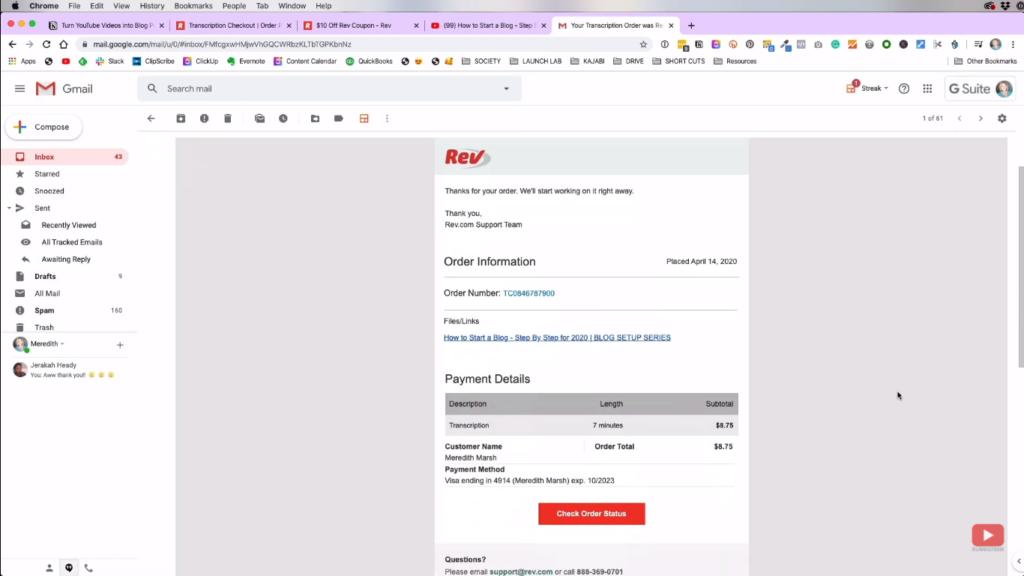
After that, it should email you some kind of receipt which shows that they have already received your order. What happens is that an actual person will transcribe the video into text and then you will be given a copy of that transcription through a text file.
This option is really accurate 99% of the time. It is the most reliable and preferred way so you can save time from editing and proof-reading if you want to turn your YouTube videos into a blog post.
The Fast and Easy Way
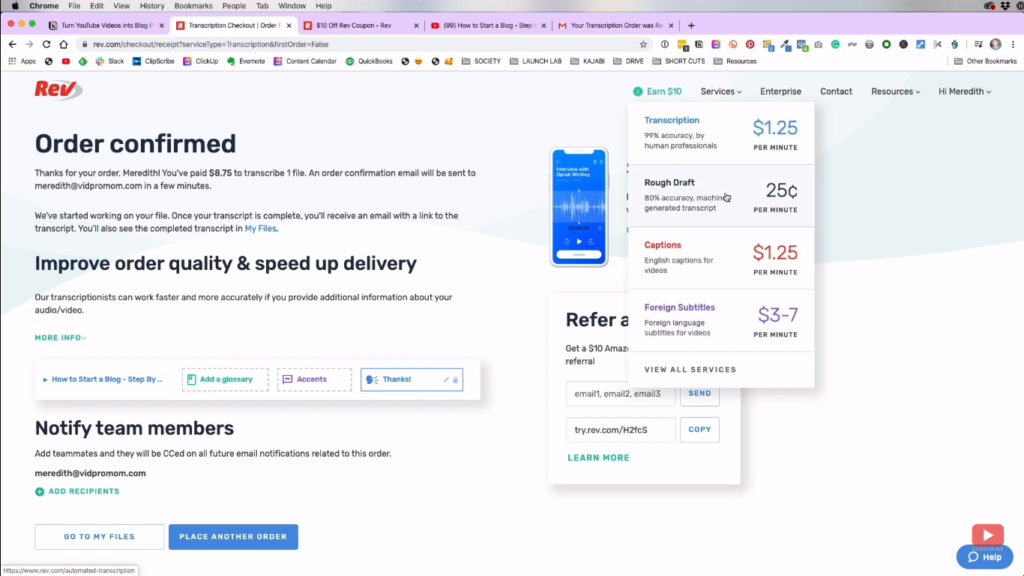
The second way is also done through Rev, but using their “Rough Draft” feature which is just $0.25 per minute and provides 80% accuracy. They are using an Artificial Intelligence System to make the transcriptions. It is computer-generated which makes it more prone to error compared to the first one.
If you will compare it to the first one, some of the differences are error in capitalizations, inaudible parts, wrong spelling, and incorrect words. It's a bit sloppier since it was just automated.
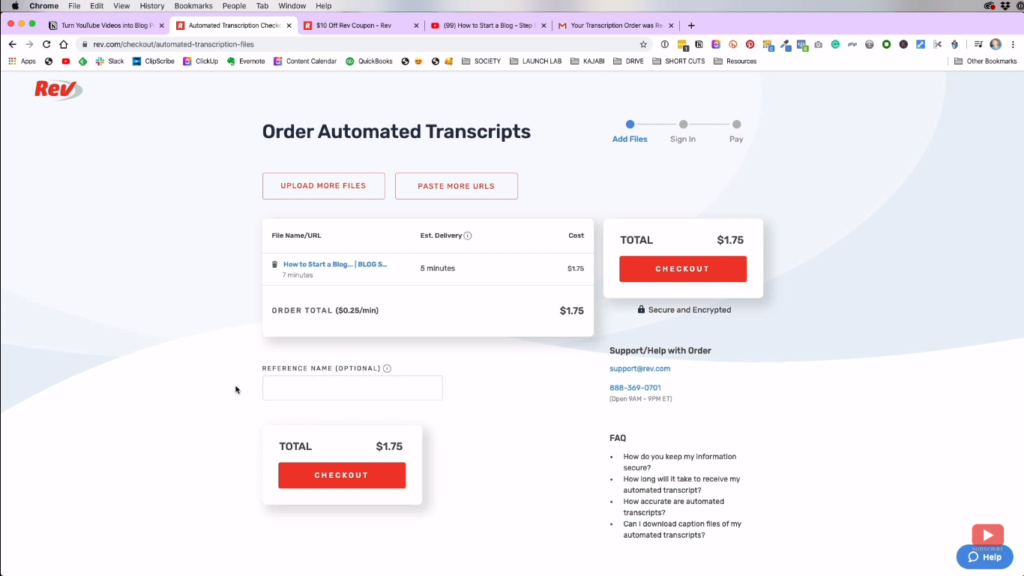
It also goes the same as what we did with the first one. Just choose if you will upload the video or just paste the link. Then, their main difference is that this method will just cost you $1.75 and my order will be delivered faster.
The Fast and Free Way
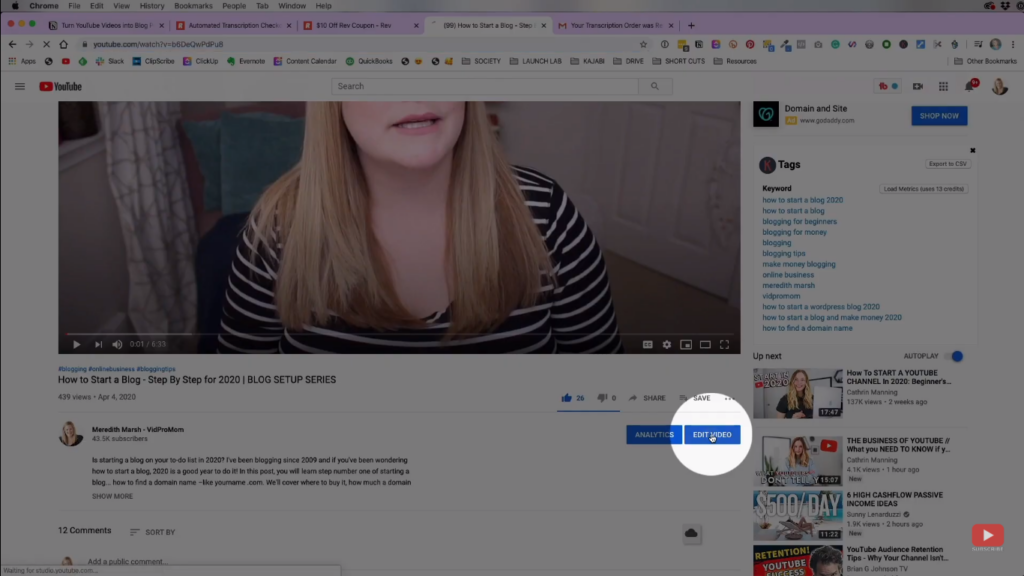
This way is still actually faster than typing, but it is less accurate and will require you some extra steps. So, what we will do here is let YouTube transcribe the video. Just click “Edit Video” which will take you to the Creator Studio.
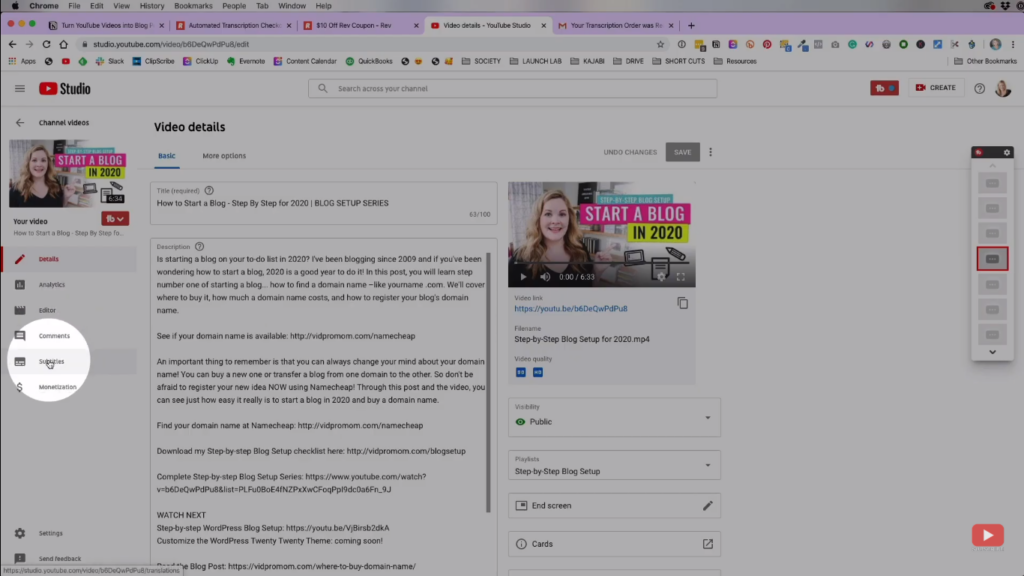
After that, go to the “Subtitle” on the left hand-side on your screen. It will then show you the subtitle that YouTube automatically created for your video.
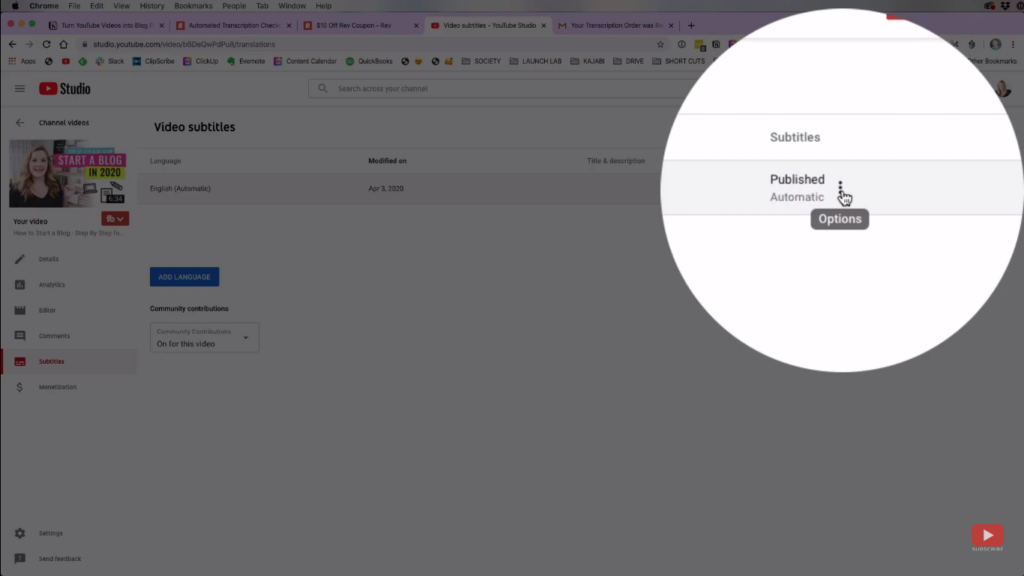
Once you've found it, you can click these dots which will give you the option to edit the transcription on YouTube's Classic Studio or download the transcription file right away.
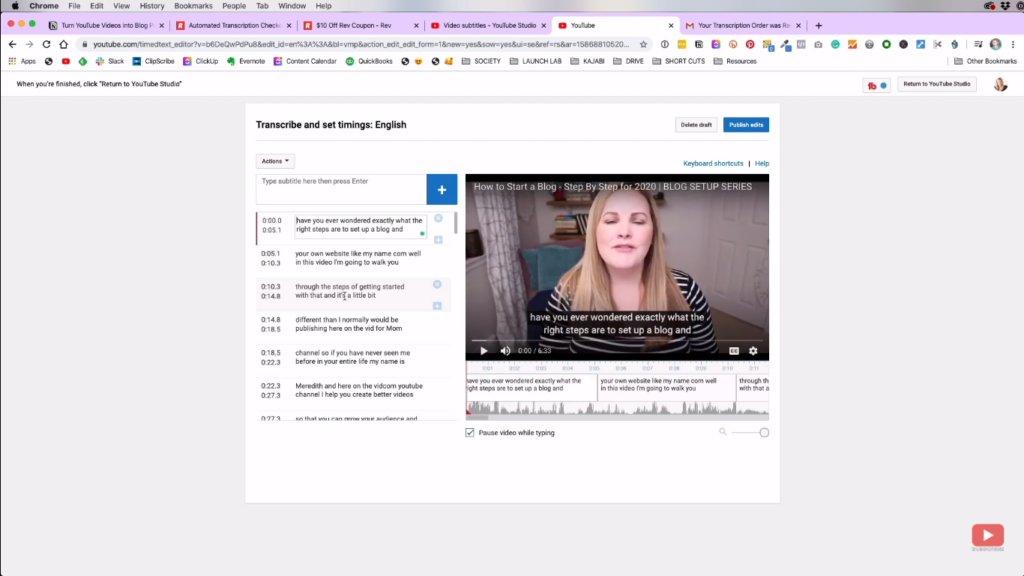
What I recommend for you to do first is edit the transcription and double-check some of the words in that transcription to make sure it's accurate. Once you're done, you can now start downloading the file by clicking the “Actions” menu and selecting “Download”.
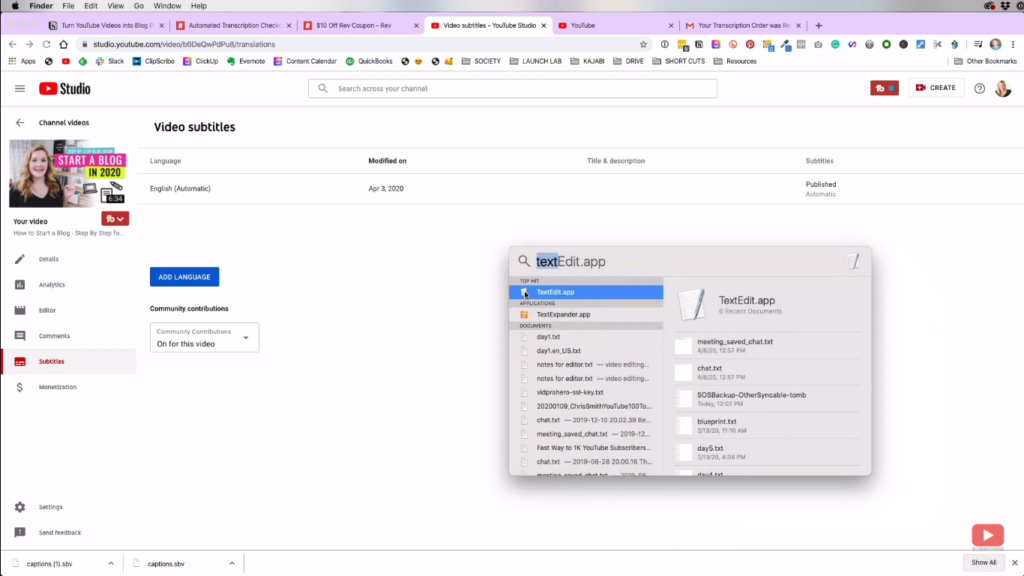
After downloading the subtitle file, you can open the file through the textEdit app, if you're on Mac. If not, you should be able to open this file using almost any text editor.
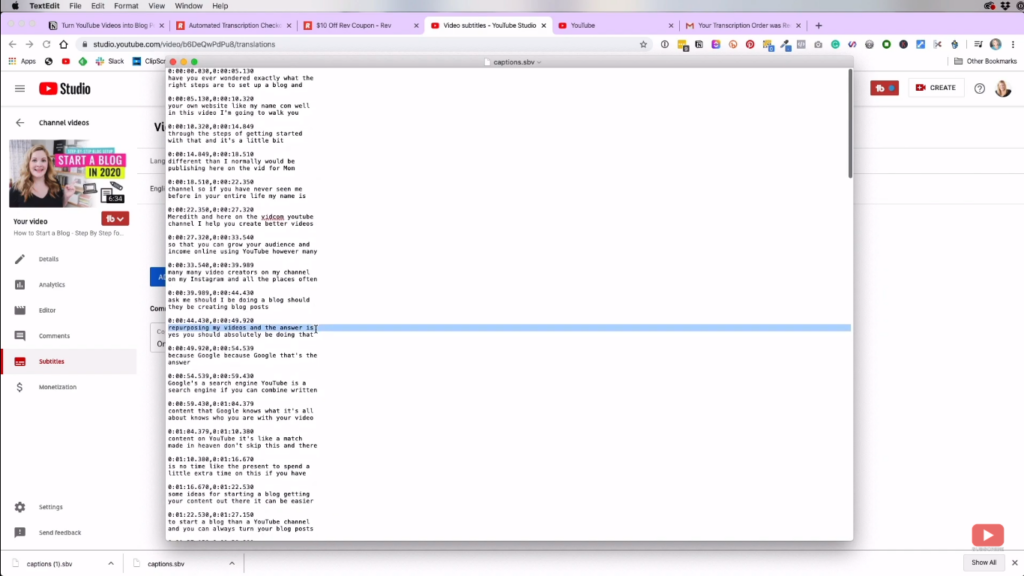
Once you opened the sbv file, you will see that it just contains the text and it is timestamped. Next, you can check for some corrections, remove the timestamps, reword some things. Then, you can copy all of it and then throw it into your blog post. It might be hard, but it's free and faster than typing the whole thing manually.
Related: The Truth About Launching Online Courses and Programs
Creating the Actual Blog
Once your transcription is ready, you can now go to your blog site. For me, I have WordPress installed on my blog. If you're new to blogging, you can check out my step-by-step blog setup series here.
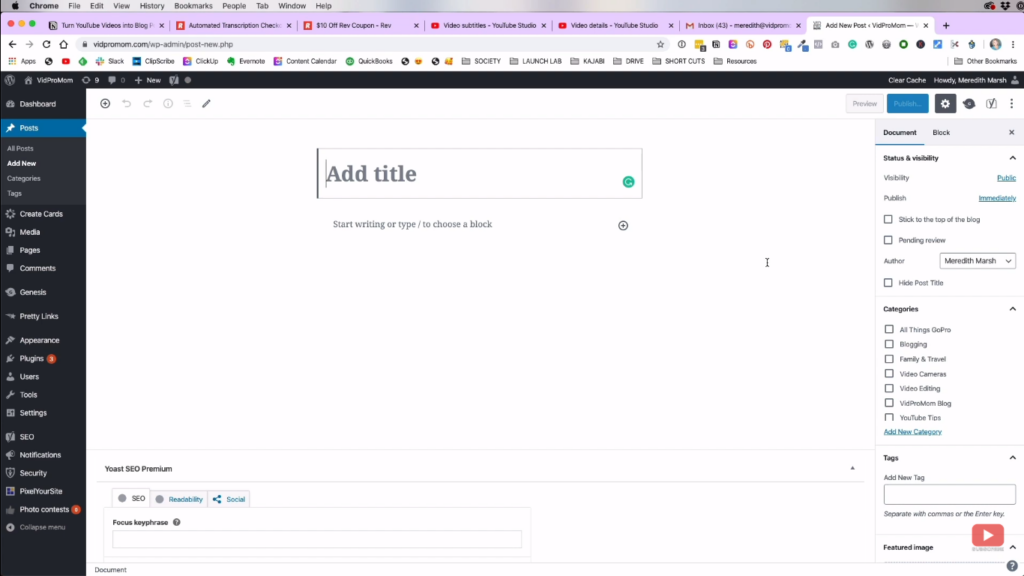
Since I already have my blog setup, we will now go to creating the actual post. The steps are as follows:
- Put the title of your blog post and put it on the top of your page.
- Paste the entire transcript of the video as the body of your blog post.
- Copy the first paragraph of your video description on YouTube and use it as the introduction part.
OPTIONAL: You can also grab some parts of your description and use it on your blog. - Do some polishing to the transcription that you've pasted, get rid of some unnecessary or redundant parts.
- Reword some of the parts to make it more like a blog post.
- Since the YouTube transcription is choppy, you can connect the sentences to form a paragraph.
- Add the necessary link/s to your post, such as affiliate links and reference links.
- Embed the actual YouTube video to your blog post. WordPress has a feature for that named “Custom HTML”.
- Separate some of the paragraph blocks by adding sub-headings to your blog post so that my topics are organized and readers won't get lost.
This is process might take some time, but it is actually faster than typing everything by yourself.
Rev vs YouTube Transcription
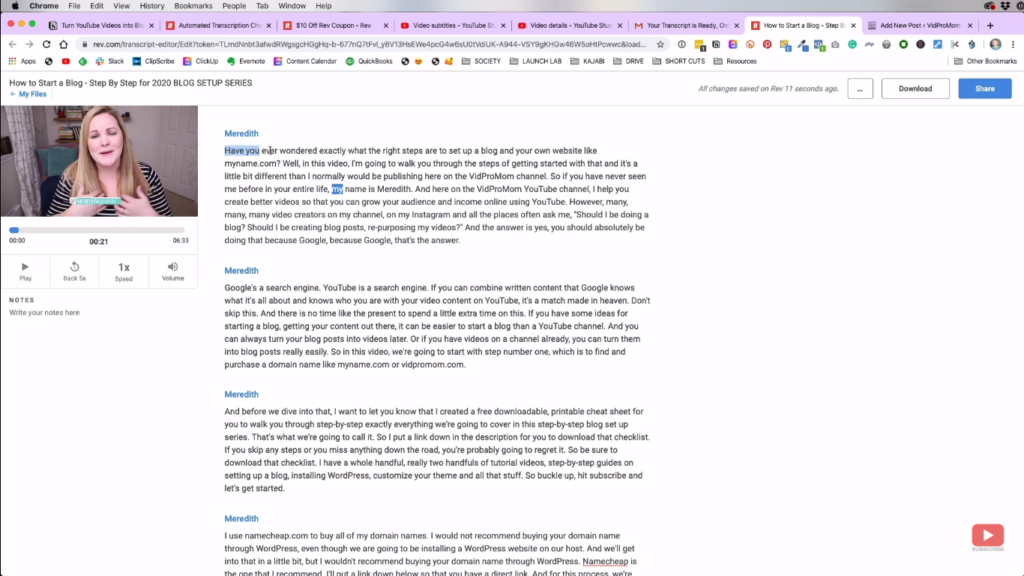
Once your order from Rev arrives, this is what it will look like. You can still also edit some of the parts while watching the video so you can check for some errors.
As you can see, this format is actually way easier to edit than YouTube's transcription so I think it's worth it. After double-checking the Rev transcription, I can now copy all of that and paste it as the body of my blog post; it's just the same steps with what we did to the YouTube transcription above.
The Rev transcription is already separated into paragraphs, it has no timestamps, correct capitalizations, and everything is already a complete sentence. That makes things so much easier and faster for you.
Preview the Draft Post
Once you're all set and done, you can now save the draft post and click “Preview”. Those buttons are on the upper-right part of your screen. The preview will look like this:
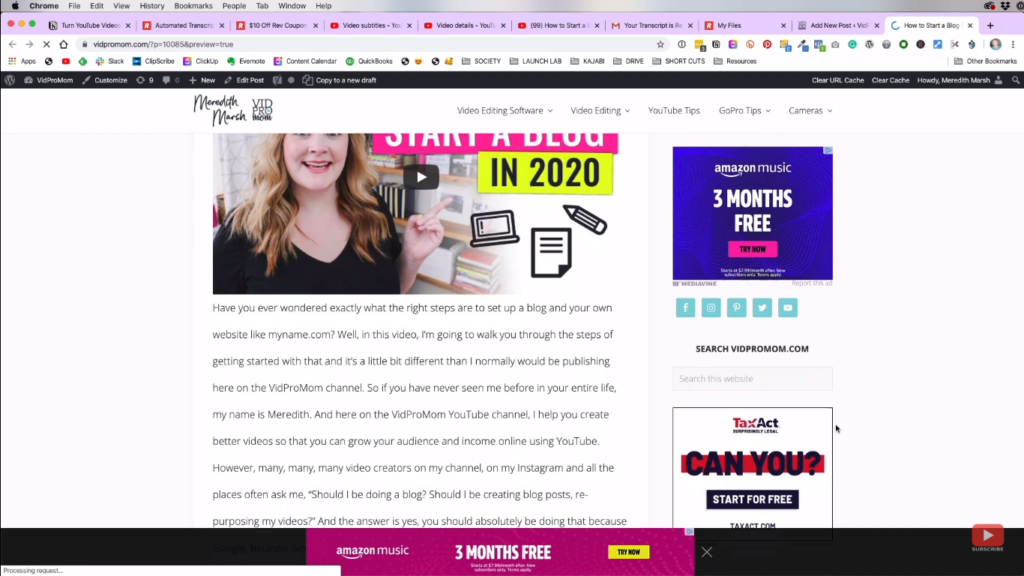
You can now see the actual look of your post even though it's not yet really live on your website. You can already see your embedded video, how your ads are placed, and so on.
If you're also interested in earning ad revenue, my blog workflow, and so on, make sure to subscribe to my YouTube channel so you're always up-to-date with my posts.
Related: How To Grow Your YouTube Channel Fast & Stay Consistent
Be sure to subscribe to the VidProMom YouTube Channel so you don't miss fresh new videos from Meredith! Click here to subscribe now.