Step-by-Step WordPress Blog Setup 2021
If you’ve been following along in this Step-by-Step Blog Setup series, you’re probably looking for the next installment: Step by Step WordPress Blog Setup! And here it is… complete with setting up your blog hosting through Namecheap, installing WordPress with Namecheap, installing your first must-have WordPress plugins, and the simple WP settings you’ll want to have in place as you start a blog in 2021.
Click here to subscribe to Meredith Marsh on YouTube.
Some product links in this post are affiliate links, and I will be compensated when you purchase by clicking our links. Read my disclosure policy here.
WordPress Blog Setup
How to Setup a WordPress Blog
For the past couple of days, I have been talking about my series called Blog Setup Series. It’s crucial that you should carefully go through each of that step before going here, and if you missed that you are free to check it out on my YouTube channel or here in my blog.
Since we’re already done setting up our domain name with namecheap, we are now going to set up our hosting. Let’s get started!
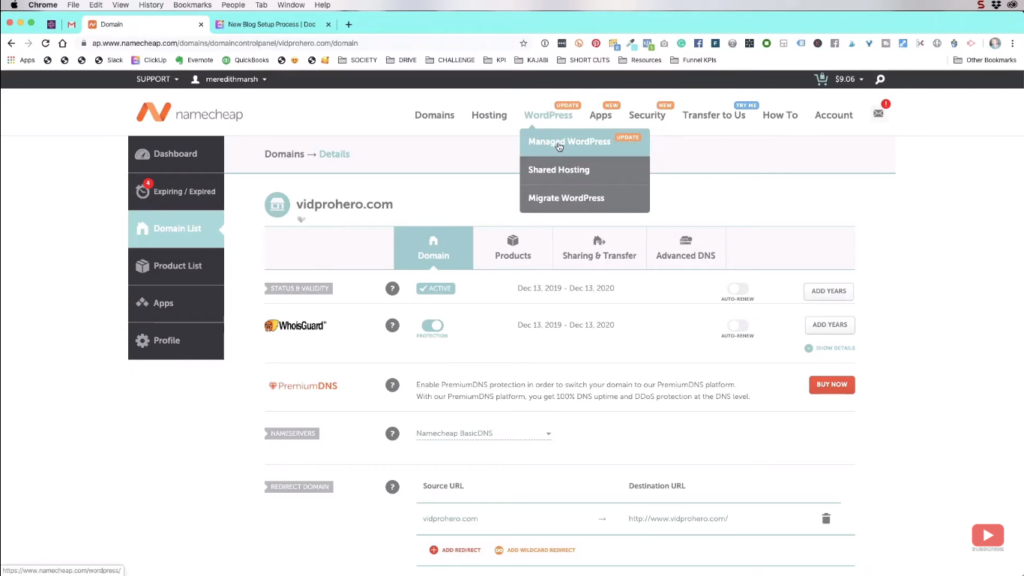
As you can see in the image above, the first thing to do is to click “Managed WordPress” which will take you to a page with their available subscription plans.
Choose Your Subscription Plan
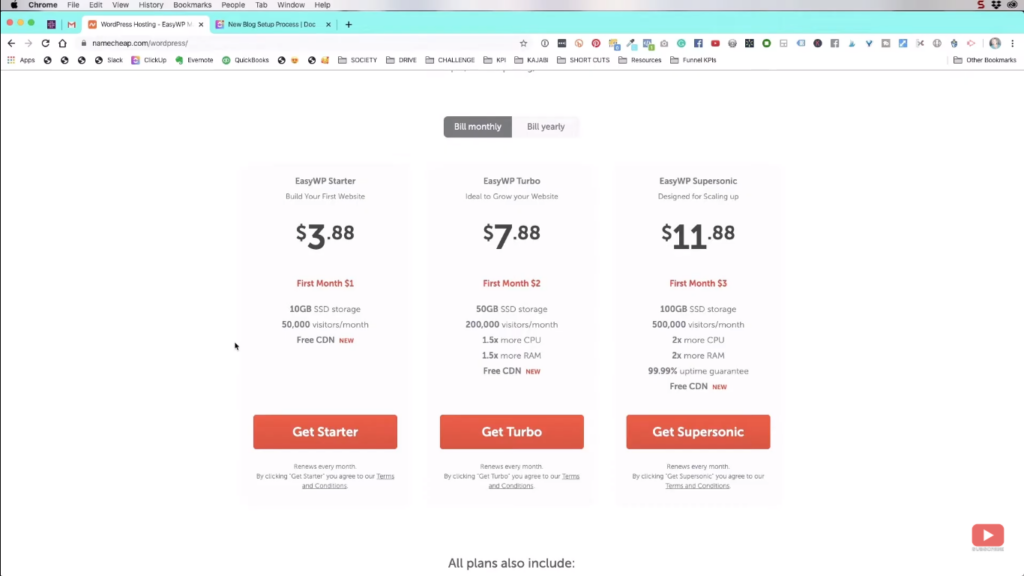
Besides the affordable price, take note that this is different than setting up a blog at wordpress.com; where you create an account and set up a blog WordPress’ own platform. This is setting up a blog on your own server and you’re just using the WordPress software. It is definitely better than creating your blog on WP’s own site.
For me, I purchased the annual EasyWP Starter plan from Namecheap. It’s the best plan for my WordPress blog setup, and 50,000 visitors/month is already a huge capacity for starters so I can already settle for that.
Related: Should You Start A YouTube Channel For Your Blog
Select Your Domain on Namecheap
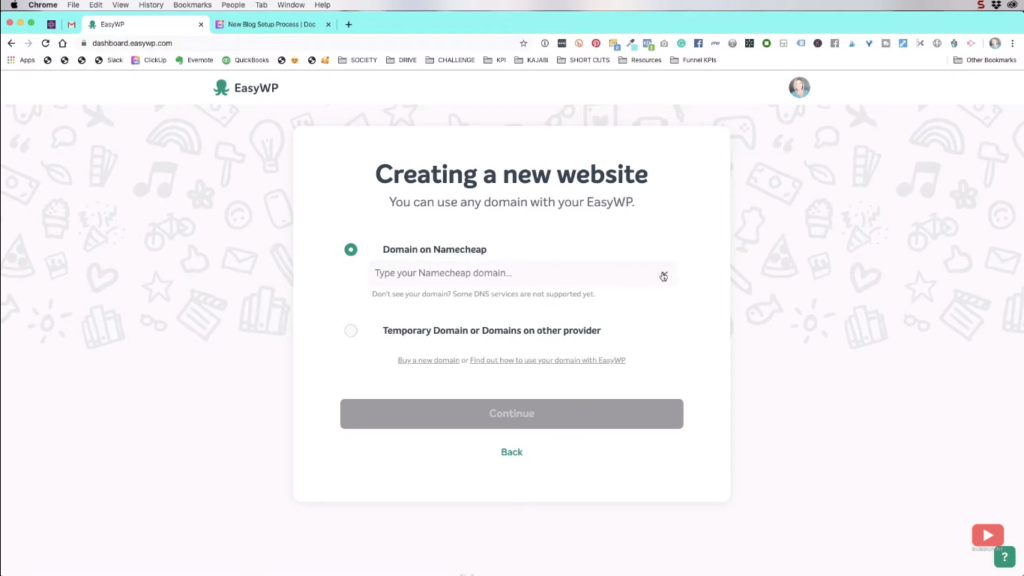
After continuing with your selected domain, it should take you to the page in the image below. Then, just click “Create WordPress Website”.
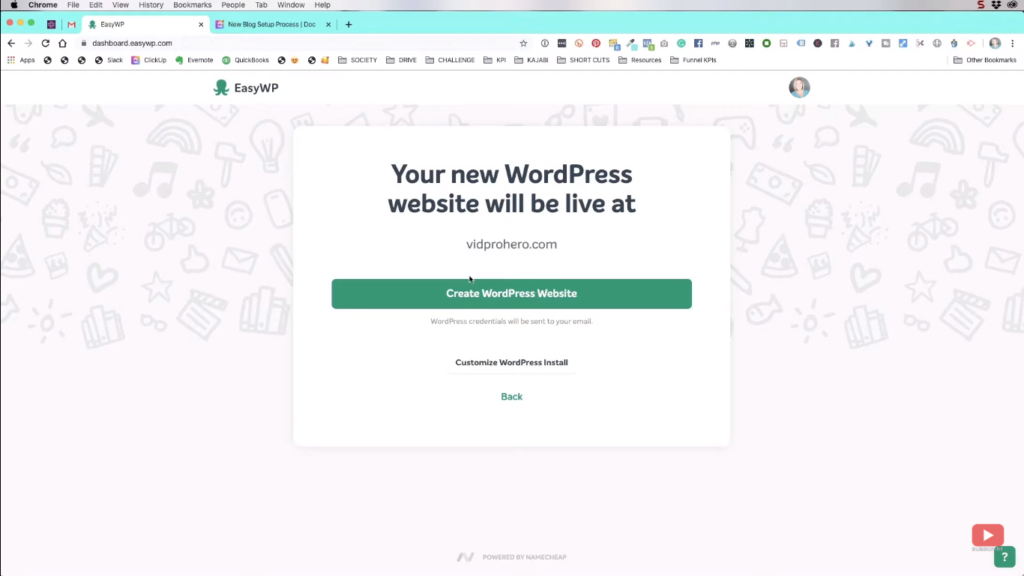
Once done, it will ask for your permission to make changes to your domain and its subdomains so it can install WordPress to your website. Just press confirm.
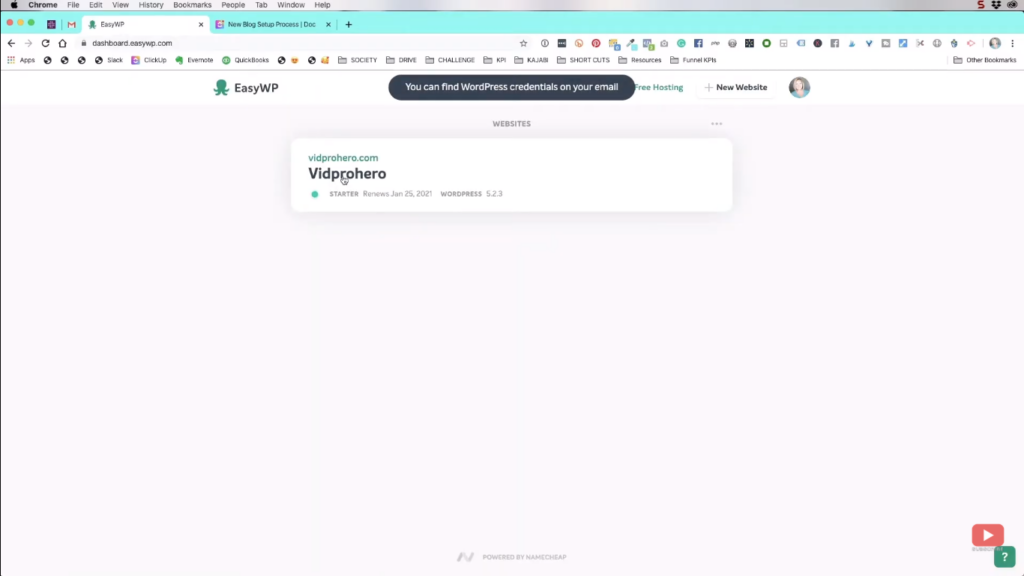
After that, it will tell you that your WordPress credentials can be found on your email.
Wait for the Verification Email
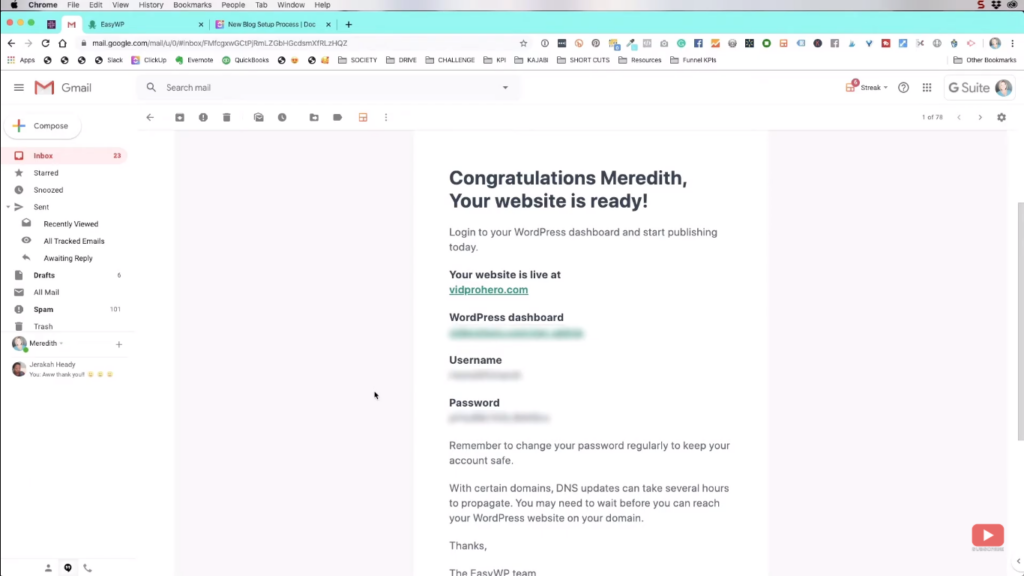
The next step in this WordPress blog setup is to wait for this email. It contains the credentials that you need to access your blog site, so make sure that you take note of those.
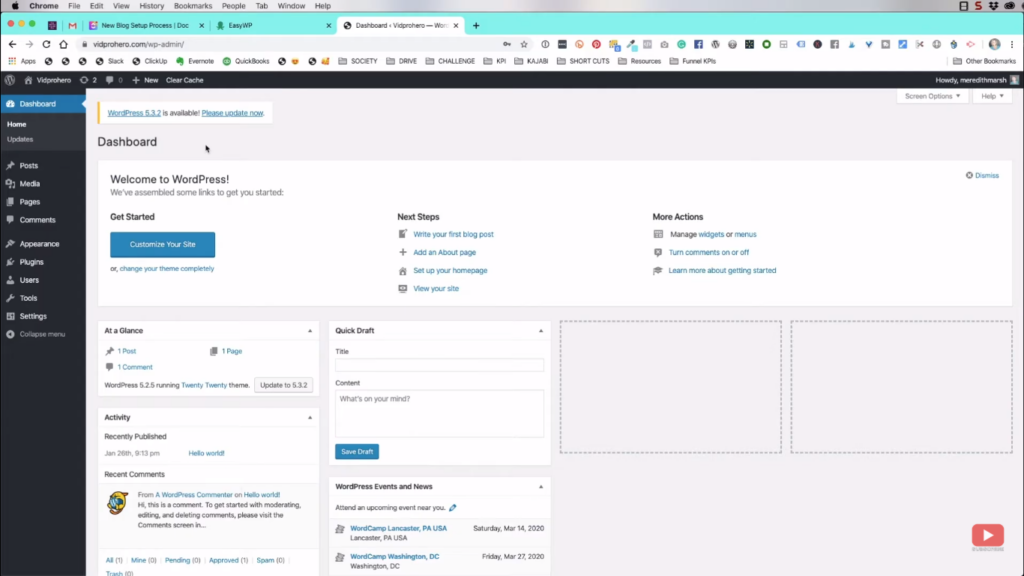
Access the Back-End
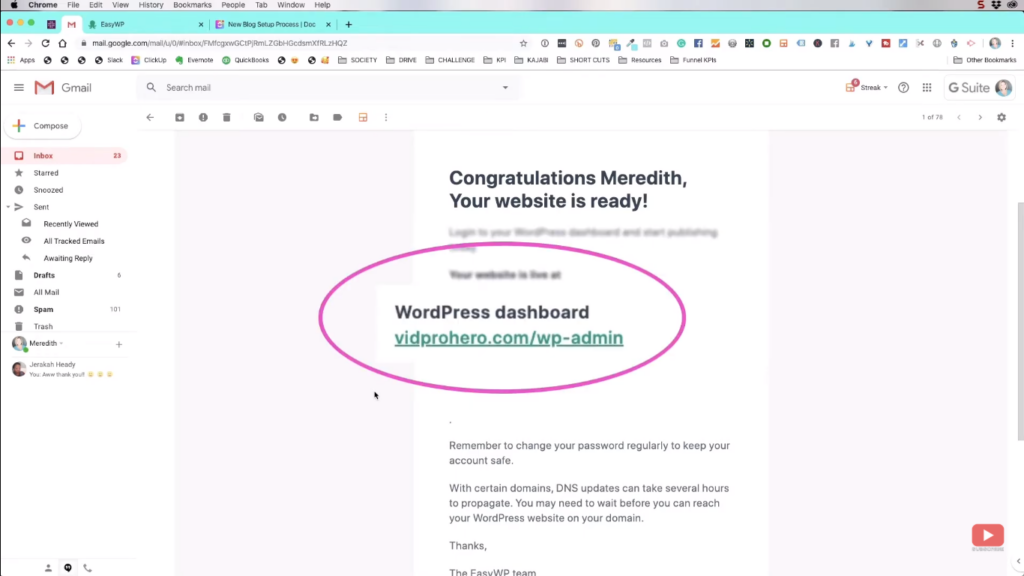
Now, the next thing that we will do is to log in to the back-end of your WordPress site using the username and password given in the email.
Update WordPress and Backup Your Database
Once you’re already in the back-end, make sure to regularly check for software updates. It’s very important because they continuously make system improvements and security improvements.
If it does not give you the notification on the top-left of the screen to update, then it means that your version is still up-to-date.
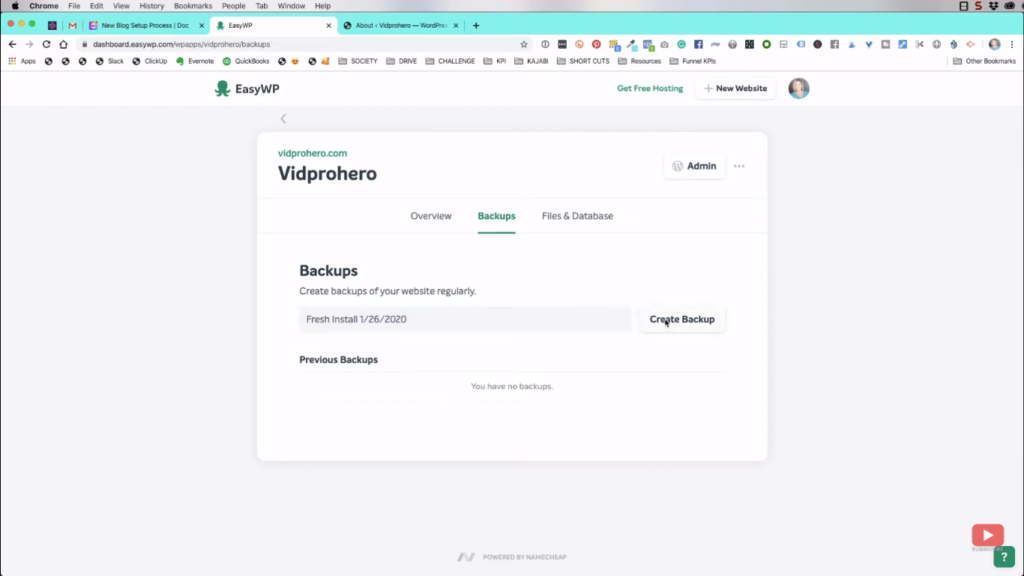
Through your host, make sure that you also backup your database regularly. It is one of the most important steps in the WordPress blog setup.
Installing WordPress Plugins
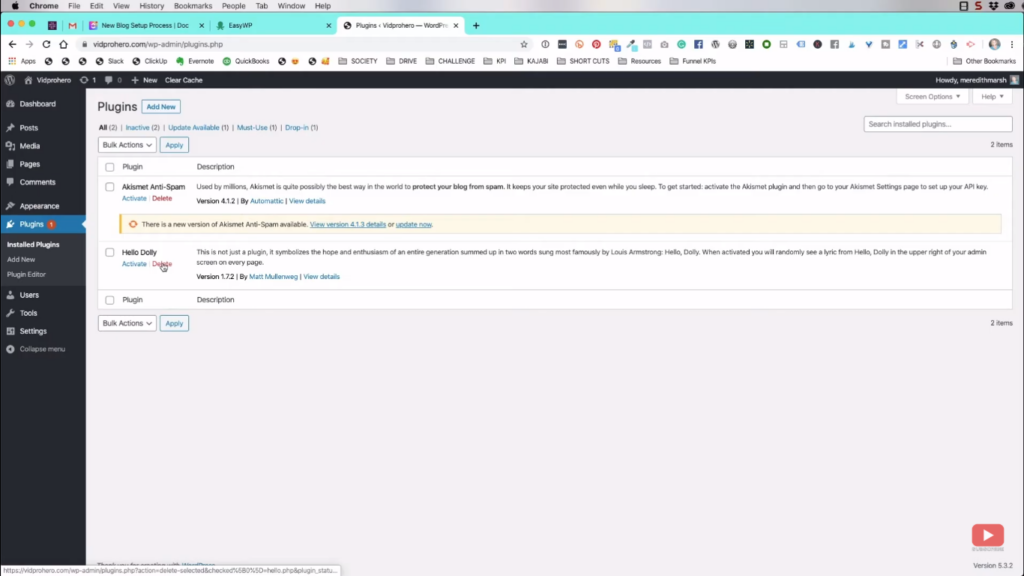
So there will be 2 default plugins in your website and this is what I do to them:
- Delete “Hello Dolly” plugin, it’s basically useless.
- The Akismet Anti-Spam plugin can be activated using a key. I already have one, but I’m not sure if you can still get a free key for that. It’s a plugin that prevents visitors from spamming the comment section of your site.
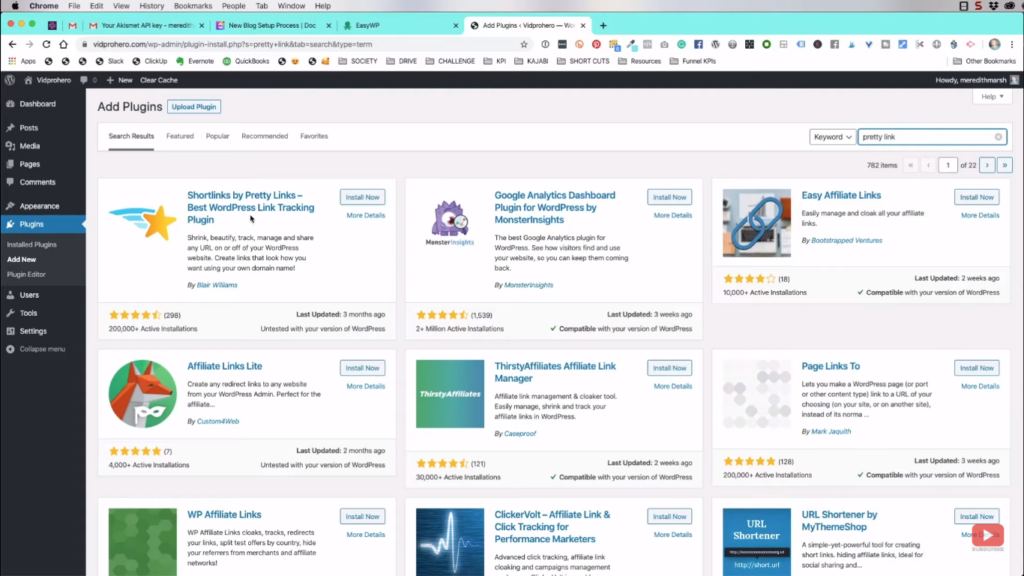
Next, go add some plugins. The first plugin that I’ll recommend to you is the Shortlinks by Pretty Links. Just enter “pretty link” inside the search box at the top-right of your screen.
I have the paid version of this plugin, but it’s not that necessary to go premium if you’re just starting a blog from scratch. After installing, click “Activate”, then we’re already set with that plugin.
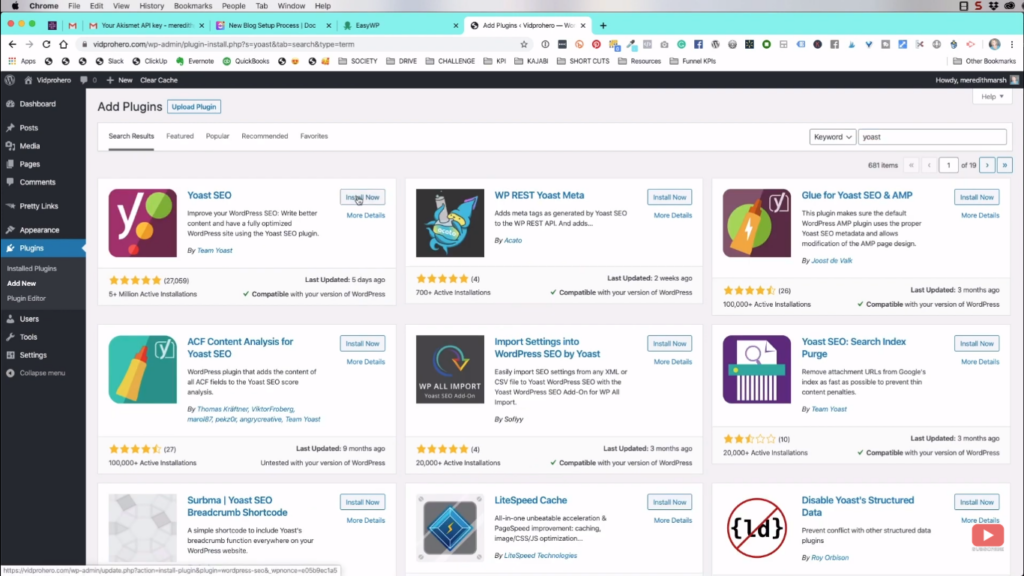
The next plugin would be the Yoast SEO. Just type “yoast” in the search box. It also has a free version and paid version, but the free version also works perfectly well.
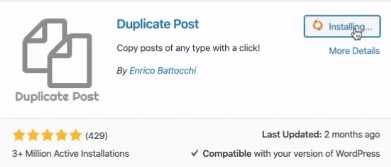
Here are the other 2 plugins that I recommend you to install: Create by Mediavine and Duplicate Post.

After installing all those plugins, make sure that they are already activated. Pretty Links would just tell you to upgrade to the PRO version, but it’s not really necessary.
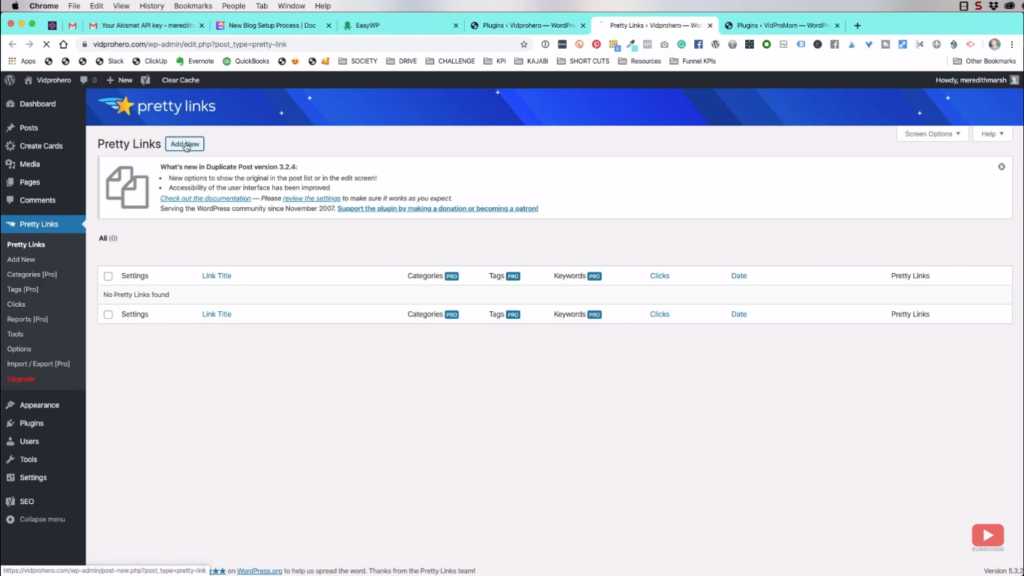
Pretty Links
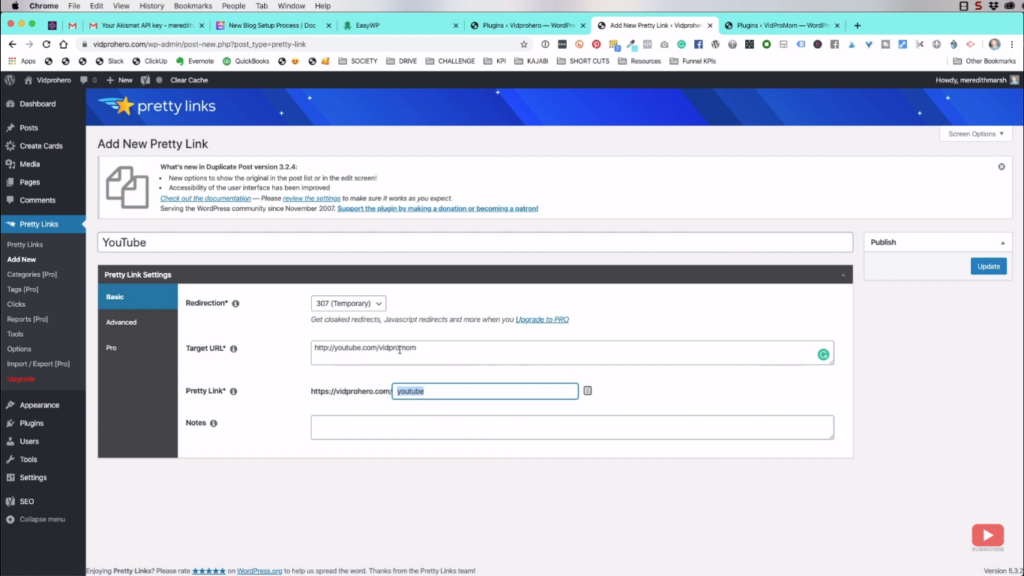
This is a redirection plugin that lets you turn a very long link into a shorter one so that your visitors can remember it easily. The image below is an example of how I created a pretty link for my YouTube channel.
Basic WordPress Settings
Moving on, we go now to the basic WordPress blog setup settings. Here are some of the things that you might want to walkthrough:
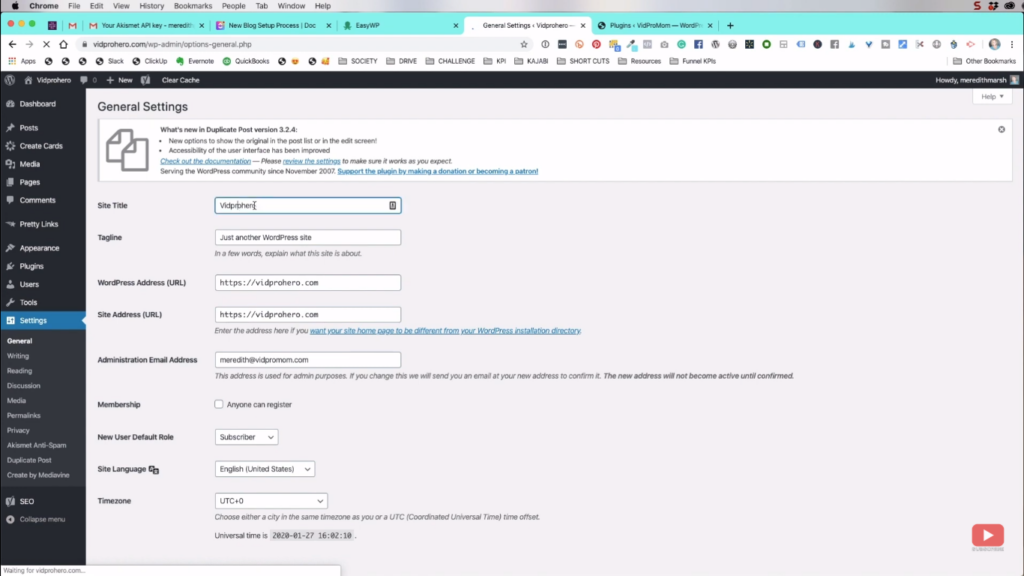
General Settings
- Set Title (This is the name of your site)
- Timezone (This is necessary for scheduled posting)
Reading Settings
- Search Engine Visibility (Make sure that this box is unchecked)
Discussion Settings
- Disallow people to submit comments on new posts
- Disallow link notifications from other blogs on new posts
Permalink Settings
- Under common settings, make sure that the “Post name” is selected.
Ready to Go!
Hey! That wasn’t too hard, after all. We have already covered all the basic essentials for WordPress blog setup. However, we’re not done yet. Stay tuned for the next part of our blog setup series as we customize and apply the 2020 theme for your blog site so that it will look nice and branded.
Related: 10 Things I Wish Bloggers Knew About YouTube
Be sure to subscribe to the VidProMom YouTube Channel so you don’t miss fresh new videos from Meredith! Click here to subscribe now.