Look GOOD with Webcam, Zoom calls, and Livestreams
Zoom calls, Google meets, and live streams have become the norm these days, but how do you look good with a webcam? Do you really have to look so grainy and double-chinny? Of course not! In this blog, you’ll learn how to go from looking not so good to good, better, and even the best looking person on your remote call!
Some product links in this post are affiliate links, and I will be compensated when you purchase by clicking our links. Read my disclosure policy here.
Look Good with Webcam
When using your laptop or Chromebook, there are actually 3 things that you should do to look good in the built-in webcam when you’re in a Zoom meeting or any other platform.
Webcam Lighting Tips
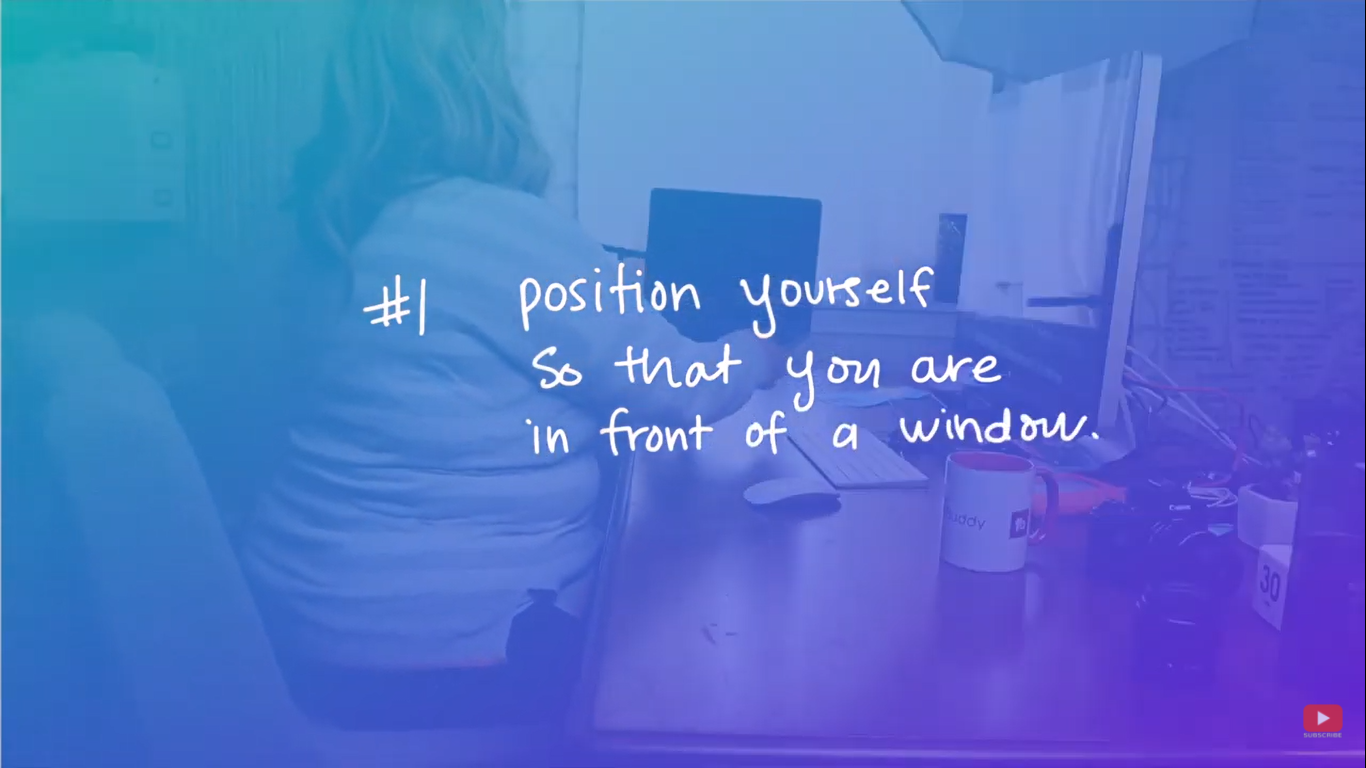
Make sure that the ambient light is directed towards your face by positioning yourself near or in front of a window. If your remote calls may sometimes be during the night, and ambient lighting is not available, you can try this as an alternative.
Webcam Distance From Face
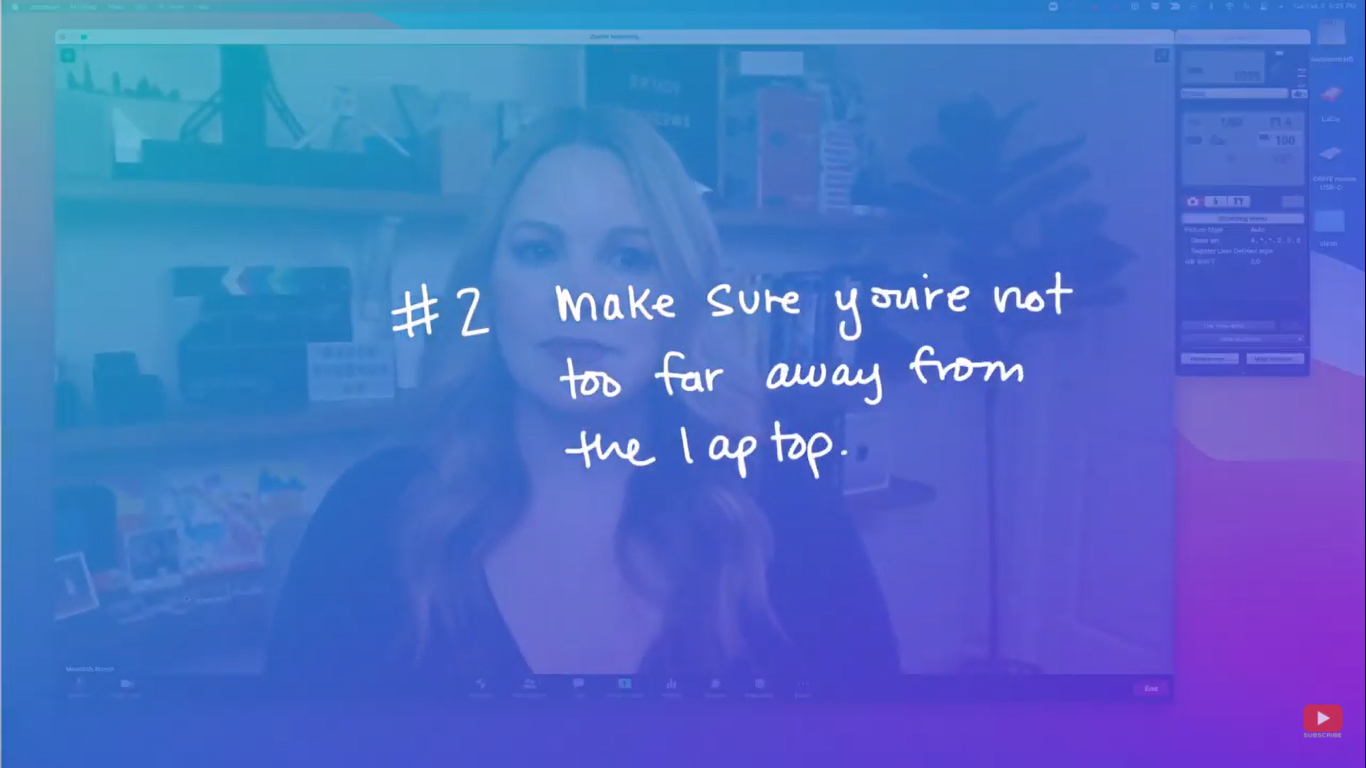
Remember to not be too far away from the laptop’s camera. It doesn’t just reduce the quality of your video, but your audio might also not be clear if you’re too far from the laptop.
Webcam Height and Angle
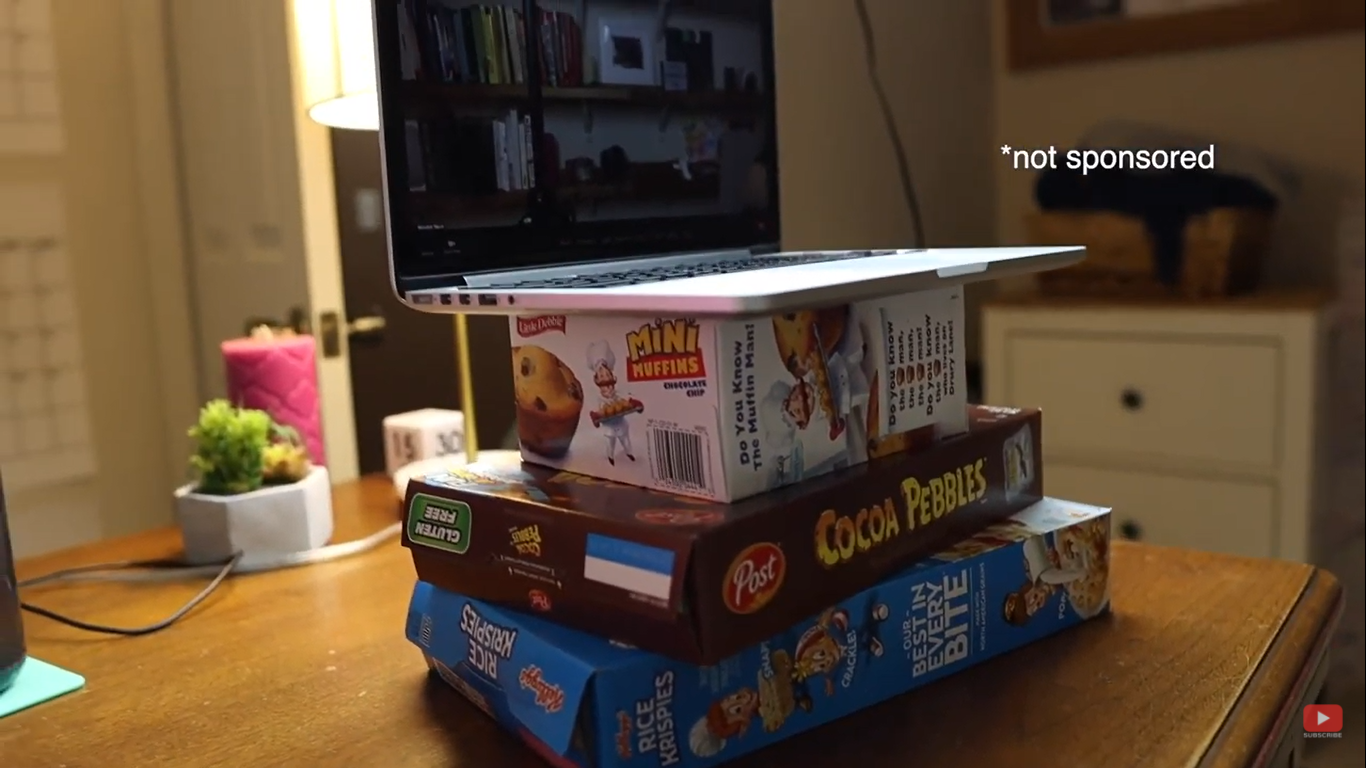
This is the most important tip! You can raise your laptop a little bit and tilt the laptop screen down towards your face a little. Make sure that the actual webcam of your laptop is leveled right above your forehead, and it’s angled slightly down to your face.
In fact, you can use boxes, books, or anything that will help you raise the position of the laptop. Moreover, this type of camera angle will help you look more natural on webcam and Zoom calls. Also, the position of your face should be perfectly framed in the webcam.
Best Webcam for Zoom Meetings
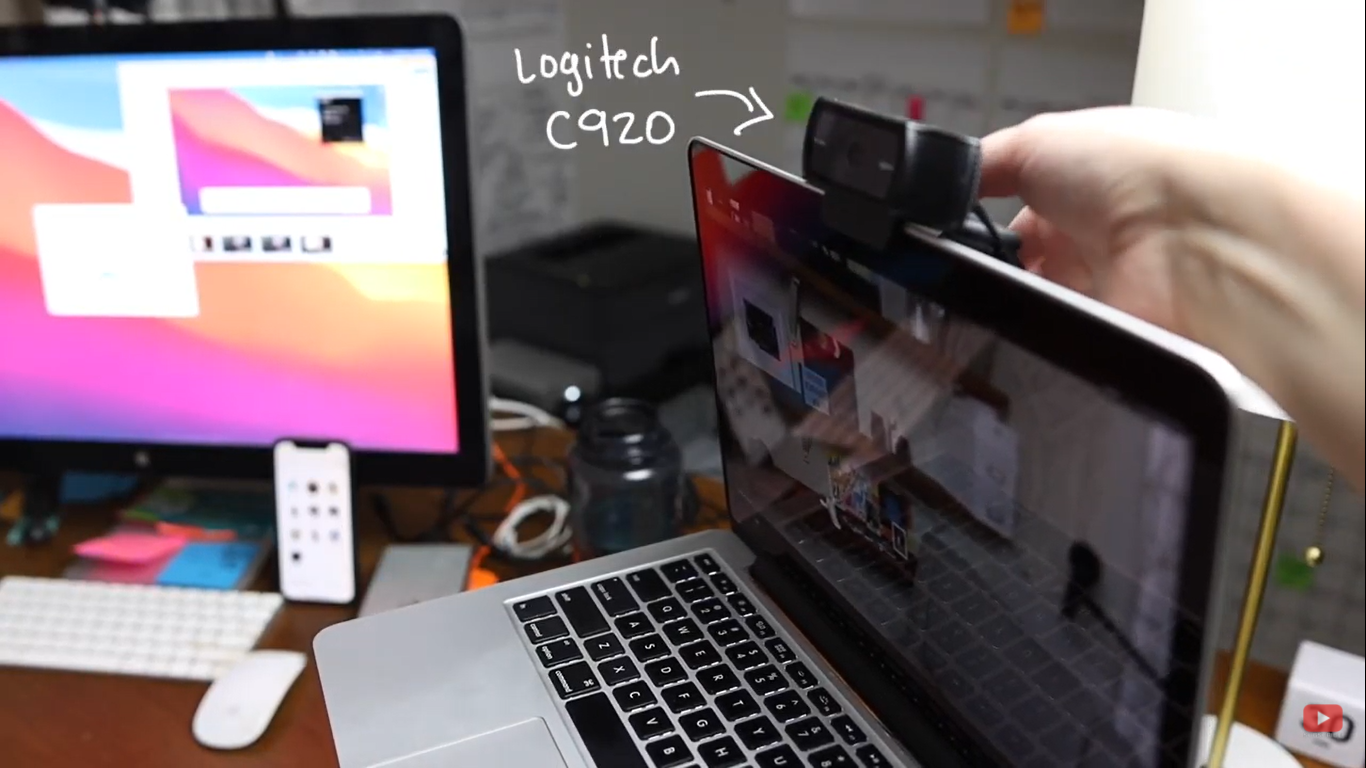
If you want to upgrade your look even better, you can consider investing in an external webcam. A good investment would be the Logitech C920 or the Logitech Brio. These are great tools because they have better quality than the built-in webcam in your device.
Also, you can easily connect them via USB and use them with any computer or laptop. You can consider placing the external camera on a tripod without fixing it to the top of your monitor. This allows you to move the external camera anywhere you want especially when your window is far from your computer, and you want to get the perfect angle.
Using Canon M50 Mark II as a Webcam
So now you know how to look good with your built-in webcam, and how to look better with an external webcam. How about looking amazing on your zoom calls and remote meetings? Here’s what you’re going to need:
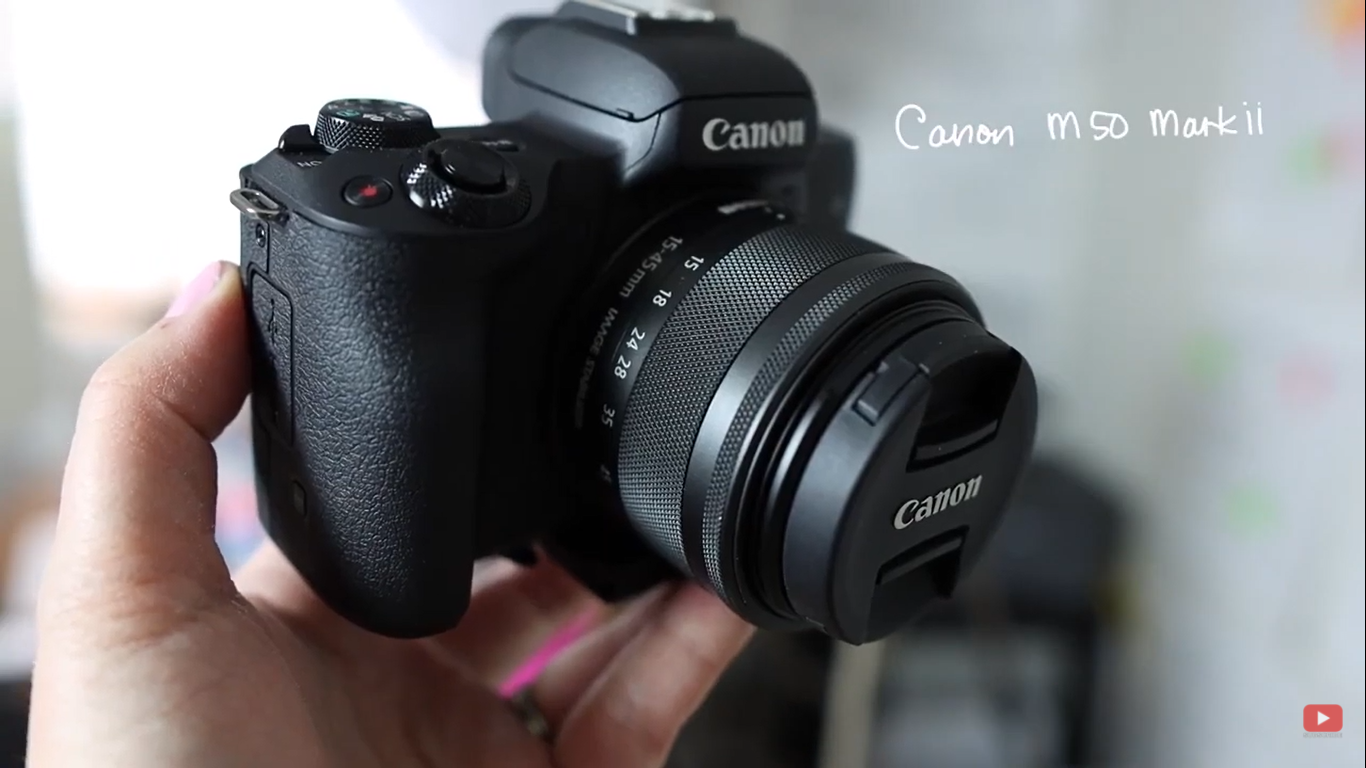
- A Mirrorless or DSLR camera like the Canon M50 Mark II with the 15-45mm kit lens (I picked this up when I upgraded my camera gear in 2020)
- A tripod
- If you don’t have a window to sit in front of, you can buy a box light. Check out Amazon to purchase one, they are cheap.
- An HDMI capture card. This allows you to seamlessly stream the camera as a webcam without special software. I don’t know much about other manufacturers, but I know that my Canon camera needs the capture card in order to use it with Zoom.
- For the Canon M50 Mark II, you are also going to need the HDMI to Micro HDMI cable and USB to Micro USB cable.

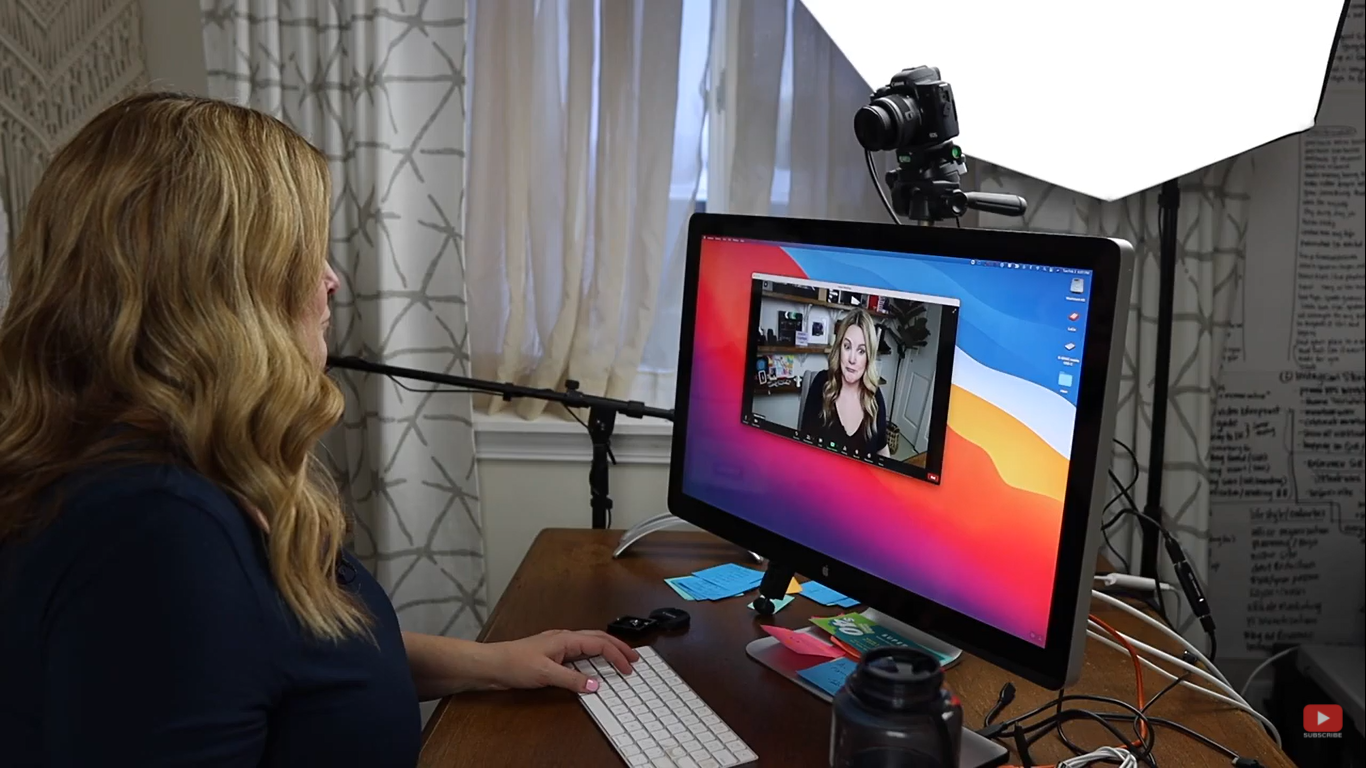
Once you have your equipment, you need to position yourself about an arm’s length from the camera. If you are using a box light, it should be placed behind the camera, angled down at you like a beaming ray of sunshine.
Camera Settings
The camera settings are going to make or break your setup. First of all, make sure you’re in video mode. It looks like a movie camera icon on the dial. Next, open the menu. Under the “Shooting mode”, choose “Manual”. For the recording quality, you can choose “FHD 29.97”. That’s 1080p and 30 frames per second, which is pretty much the standard, so no need to try reaching 4k resolution.
For the audio settings, you can leave it as it is because you will be using the computer’s built-in mic or an external mic during your remote meetings or live streams.
Next, head over to the HDMI info display. For regular video shooting, the default will be “with info”. However, if you are using a capture card for live streams, Zoom meets, or Google meets, you’ll want the HDMI info display to be on “Clean FHD” output.
With that, you’ll now be able to use a capture card. Just plug it in via USB and use the Micro HDMI to HDMI cable to connect the camera to the computer. Lastly, in Zoom or whatever program you’re using to meet remotely, just select the capture card as the camera source.
Related: Best Computers for Video Editing
Shooting Settings
Once you finish setting your camera, you need to download the Canon Utility Software from the Canon website. Your camera would connect to EOS M50 M2 and select remote shooting. The following steps to follow for the shooting setting is listed below:
- Bring the F-stop down to the lowest number
- Set the shutter speed to 60
- Adjust the ISO down to 100
- Flip your screen around and see how you look, then just bring the ISO up incrementally until you are already satisfied with your look on the camera.
- Make sure that the dot on your exposure scale is just around the middle.
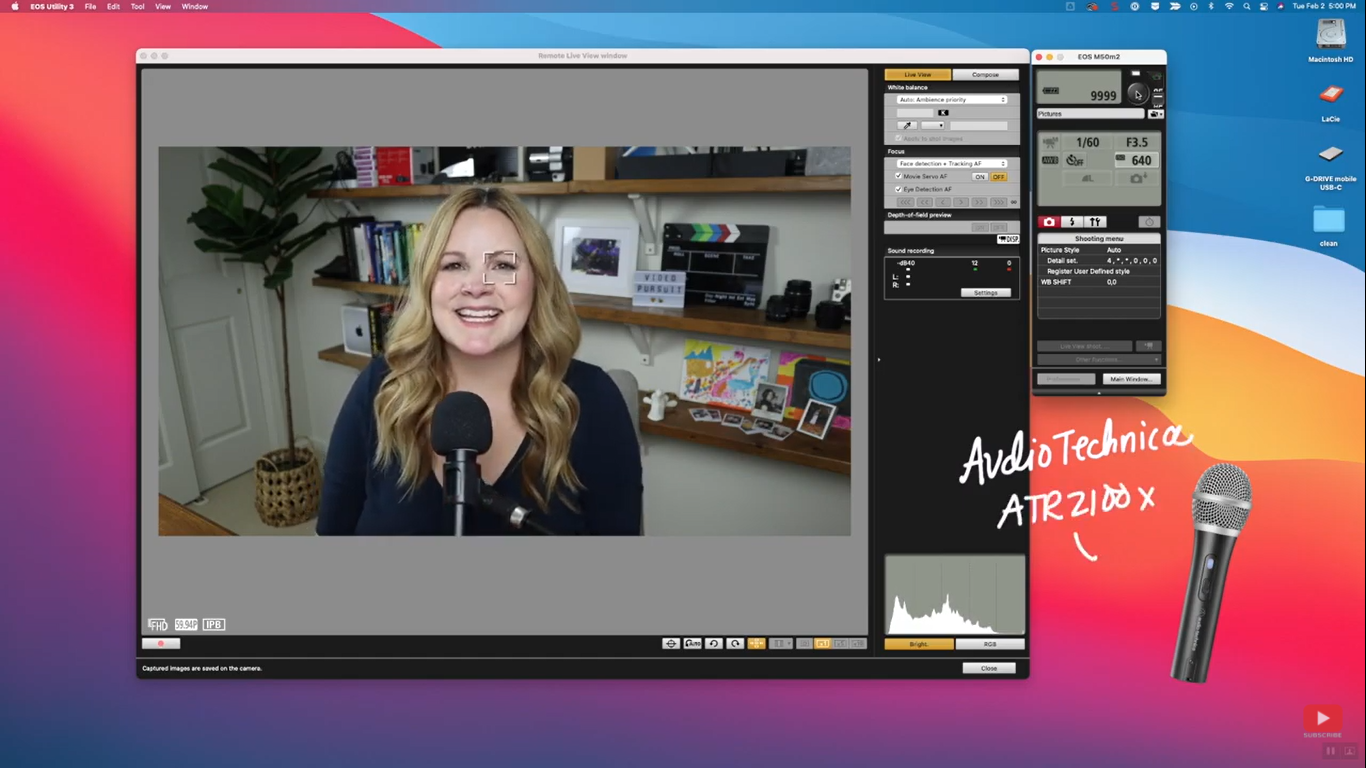
Other than looking good in your webcam on your Zoom meetings, you might also want to achieve good audio. Consider investing in an external mic like the Audio Technica ATR-2100. It’s hard to beat the quality of a real camera, good lighting, and upgraded audio for your remote meetings and live streams.
Optional Add-on
However, there’s one more easy thing you could add to this setup to look good on your Zoom meetings especially if you have a small space. That is, adding a great camera lens like the Sigma 16mm f/1.4 lens. This can replace the kit lens on the Canon M50 Mark II. For my settings on this lens, I just lower the f-stop a bit. You can try f/1.8, but I usually set mine between f/2 to f/2.8. I still have my shutter speed at 60, and then my ISO is at 125.
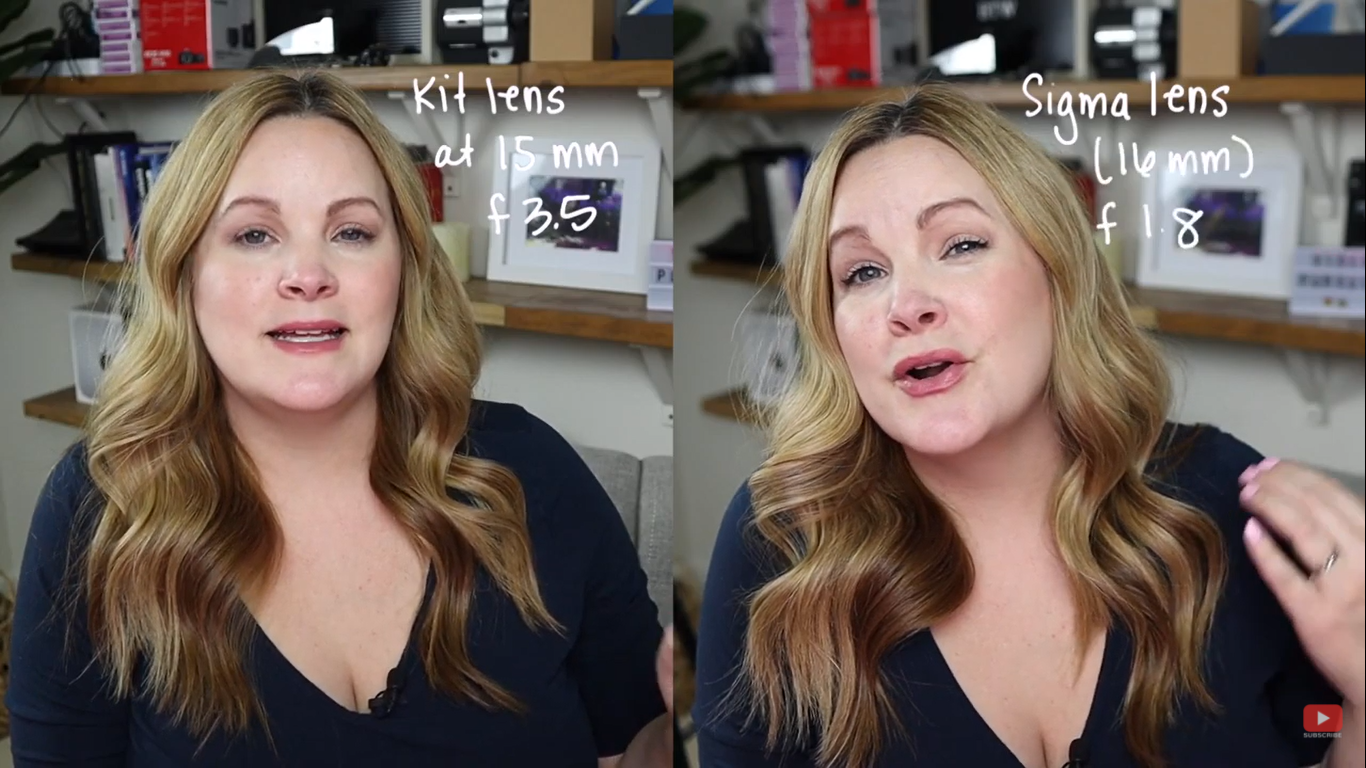
This lens gives you a beautifully blurred background, even in a small space. The Sigma 16mm f/1.4 lens costs around $400, which is already a good price as far as good lenses go. Pairing this lens with the M50 Mark II, which is an affordable, entry-level, and enthusiast-level mirrorless camera, will give you the look of a much higher-priced setup.
My Final Thoughts
Here are my two final thoughts: first, as of right now, the Canon M50 Mark II is on backorder with a lot of retailers. So, if you can’t get your hands on one, I recommend that you go for the M6 Mark II as an alternative. All the settings and everything that we have discussed in this video still apply to that camera.
Lastly, in this video, you have learned my tips to avoid looking grainy and double-chinny, to looking good (even great!) on a webcam during your Zoom and other remote meetings. If you want to pick up some tips on how to be more professional, less awkward, and look good on your Zoom call and other remote meetings, check out my YouTube video here.
Related: Zoom Tips for Virtual Remote Meetings
VIDEO: Look GREAT with Webcam and Zoom
Click here to subscribe to Meredith Marsh on YouTube.